
Learning Outcome #2
Transferable Production
You document and comment your code using version control in a personal and team context and communicate technical recommendations.
Evidences

(Client Project)
(Passion Project)
(Passion Project)
Version Control
Personal GitLab: https://git.fhict.nl/I522385/portfolio-semester-3
Group GitLab: https://git.fhict.nl/I522385/upcycling-with-besties
Passion GitLab: https://git.fhict.nl/I522385/filipino-driver-europe
Introduction
I used GitLab as a version control tool for my portfolio and our group project. It helped me
efficiently track changes, refine code, and manage versions. By using GitLab, I found it reliable
for monitoring progress and ensuring every update was well-documented, making collaboration
and individual work smoother.
Approach
I make it a habit to push or commit to GitLab whenever I make changes to my code, both in
personal and group projects. This ensures that updates are properly shared and applied when
ready. For group projects, version control helps keep everyone aligned, making it easy to track
who made what changes and when. I also focus on writing clear commit messages because this
practice makes it easier for me to understand, maintain, and debug different versions of the
project.
Personal Project:
Group Project:
Passion Project:
Reflection
Using version control taught me how important it is to keep track of changes, both for personal
work and in a team environment. It made it easier for me to organize my code and collaborate
with my group. I also learned that making regular and clear Git pushes is key to staying on track
and making sure everything is up-to-date.
I’ll continue using version control in my future projects because it helps me keep things
organized and makes my development process smoother.
ReadMe
Introduction
For each project, I created a ReadMe file to document the code and provide clear instructions
for anyone who might use or work on it. A ReadMe file helps me explain the project clearly,
making it easier to understand, update, and maintain.
Approach
Before creating my own ReadMe files, I took the time to research and explore examples of
structure, such as Git: Basics & Advanced and the ReadMe documentation website, to learn
what information should be included. These resources helped me understand that a good
ReadMe should guide the user in setting up the project on their system by including important
details like installation instructions, requirements, and an overview of how the project works.
What I Included in My ReadMe Files:
- A brief description of the project’s purpose
- Steps for running the project
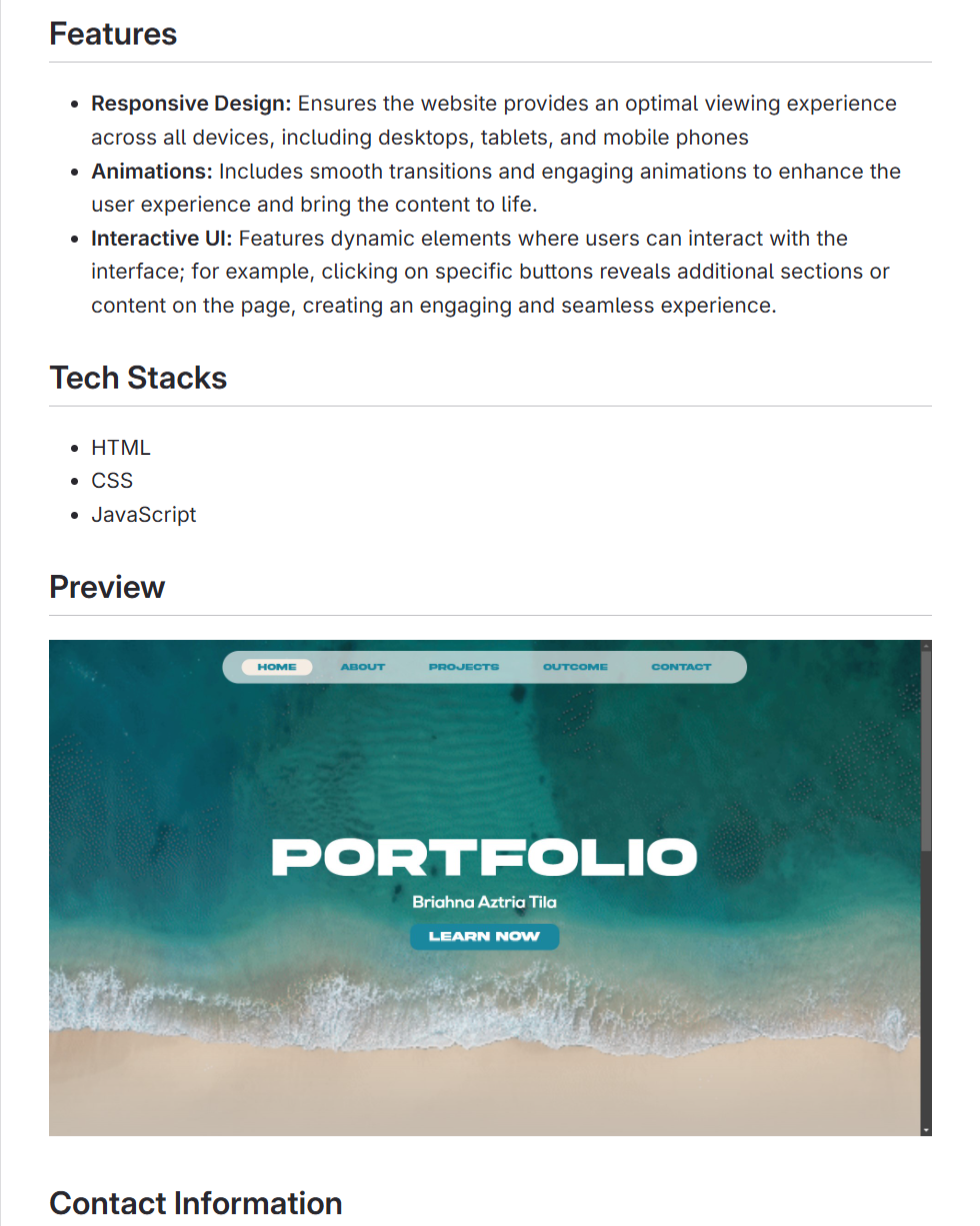
- Project’s feature
- A list of programming languages, frameworks, or tools applied in the project
- Sample screenshot of the result
Link: Portfolio ReadMe
Link: Tic-Tac-Toe ReadMe

Link: JavaScript Counter ReadMe
Link: Filipino Driver Europe ReadMe
Reflection
Creating ReadMe files taught me the importance of documenting my projects clearly and
effectively. I learned a lot about the importance of a good ReadMe and what it should contain. It
helps me organize my work and make it easier for others (and my future self) to understand and
navigate the project. By doing this, I got better at explaining my work in a structured and
professional way.
Portfolio
GitLab: https://git.fhict.nl/I522385/portfolio-semester-3
Link: https://i522385.hera.fontysict.net/portfolio-semester-3/
Introduction
I created a portfolio website to showcase my skills, projects, and progress. It highlights my
ability to organize and present my work effectively, applying web development skills and best
practices to its structure and clear code commenting.
Process
After finalizing the design and structure of my portfolio, I began coding the website using HTML
semantics, CSS, and JavaScript. I also checked the code using the W3C Markup Validation
Service to ensure it met coding standards.
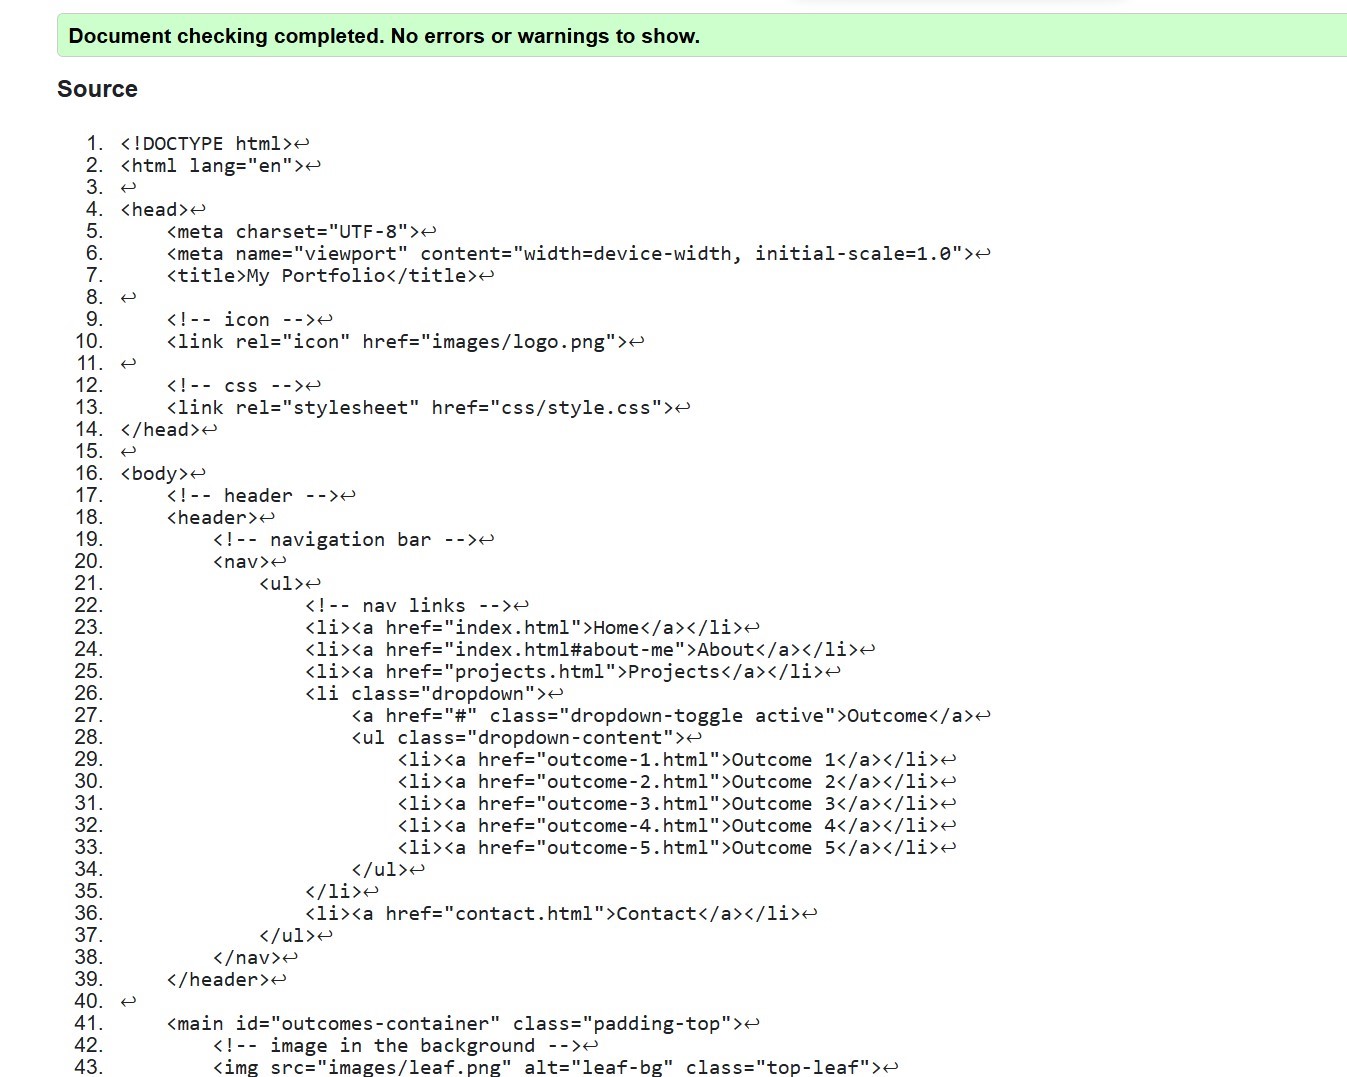
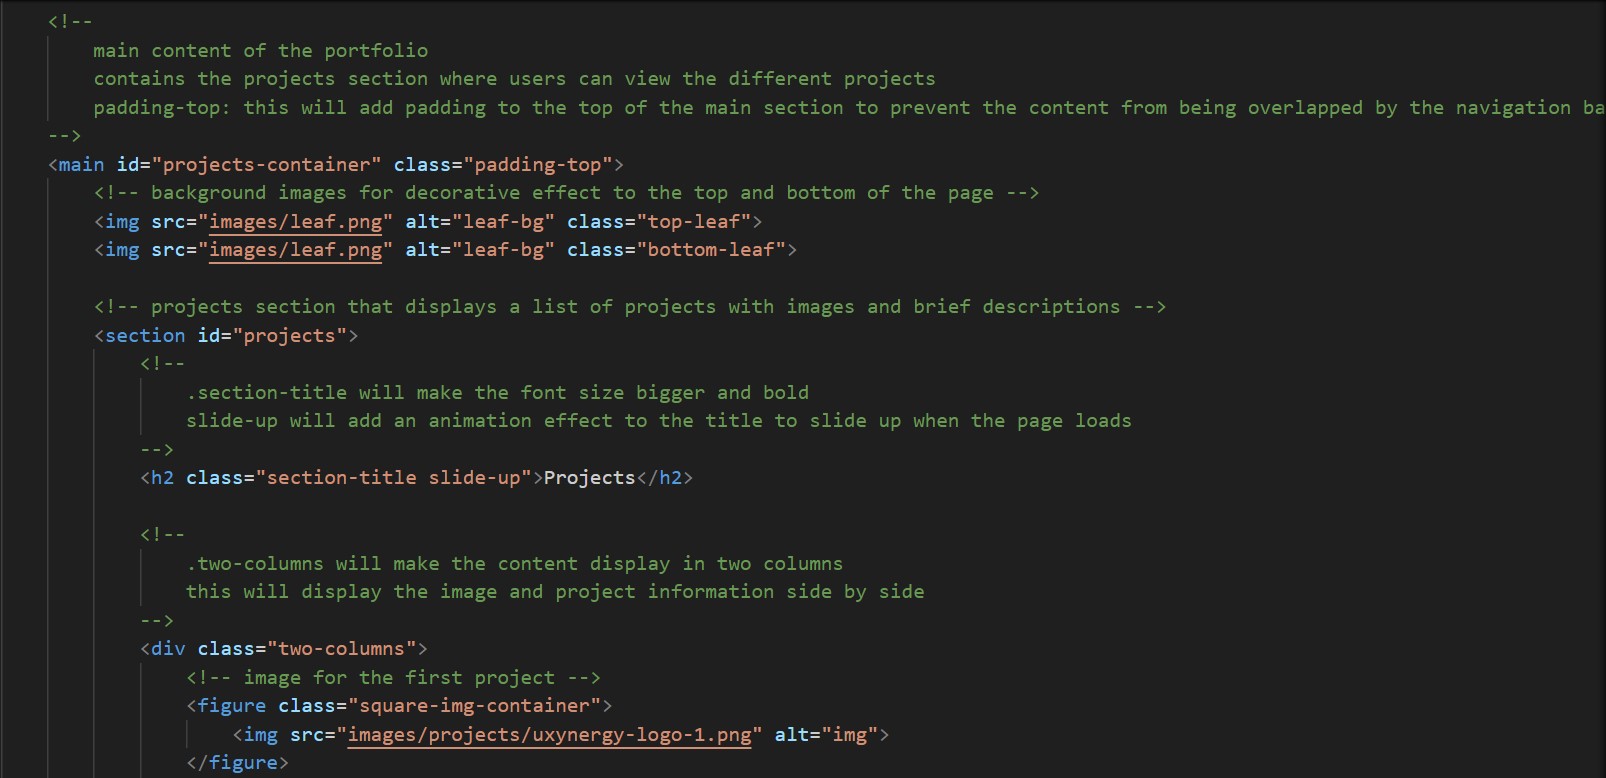
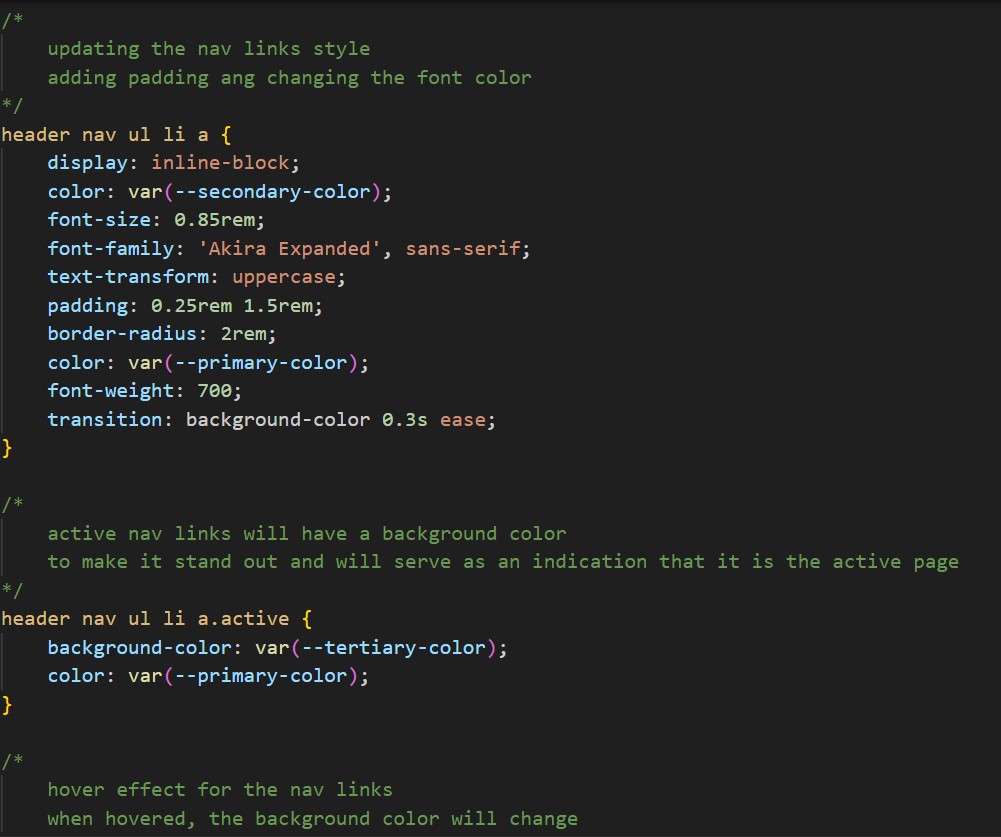
To improve the readability and maintainability of my code, I made sure to comment on my HTML
and CSS code. This helps me and others easily understand the structure and style of the
website, making future updates and edits quicker and more efficient.
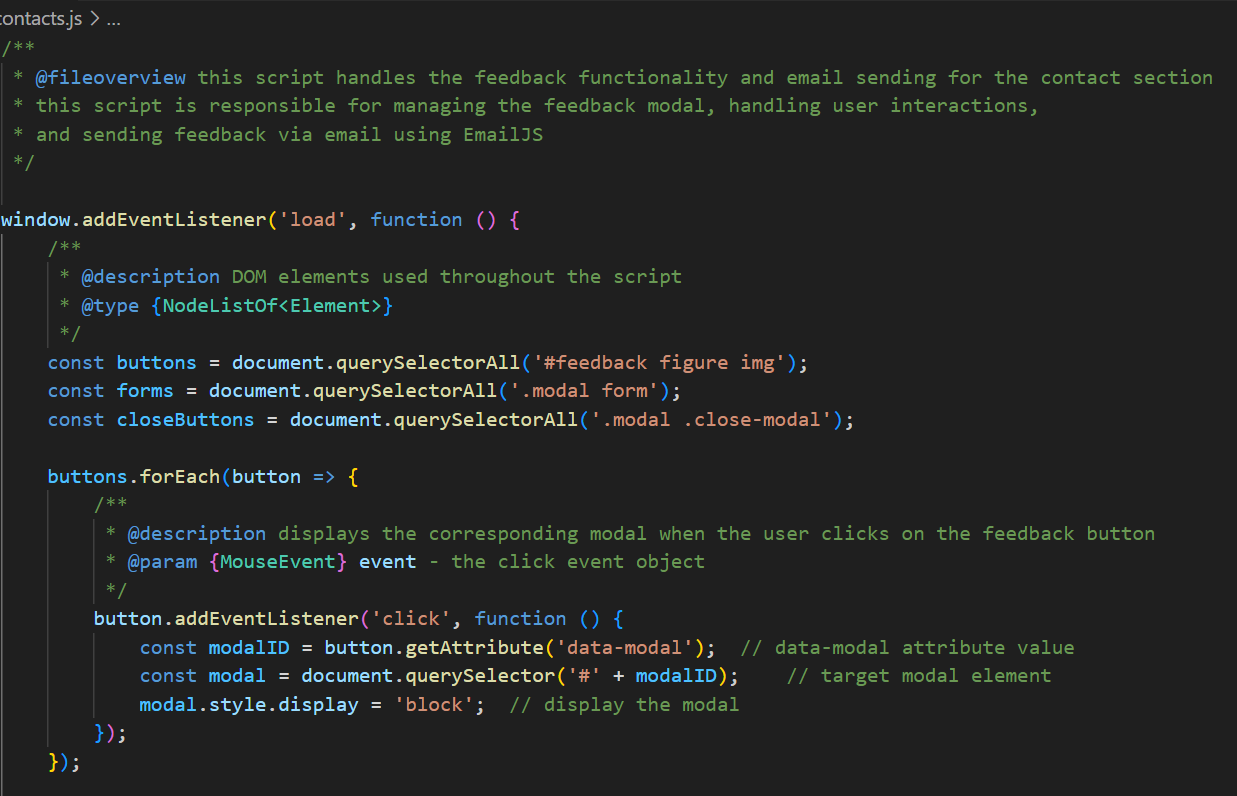
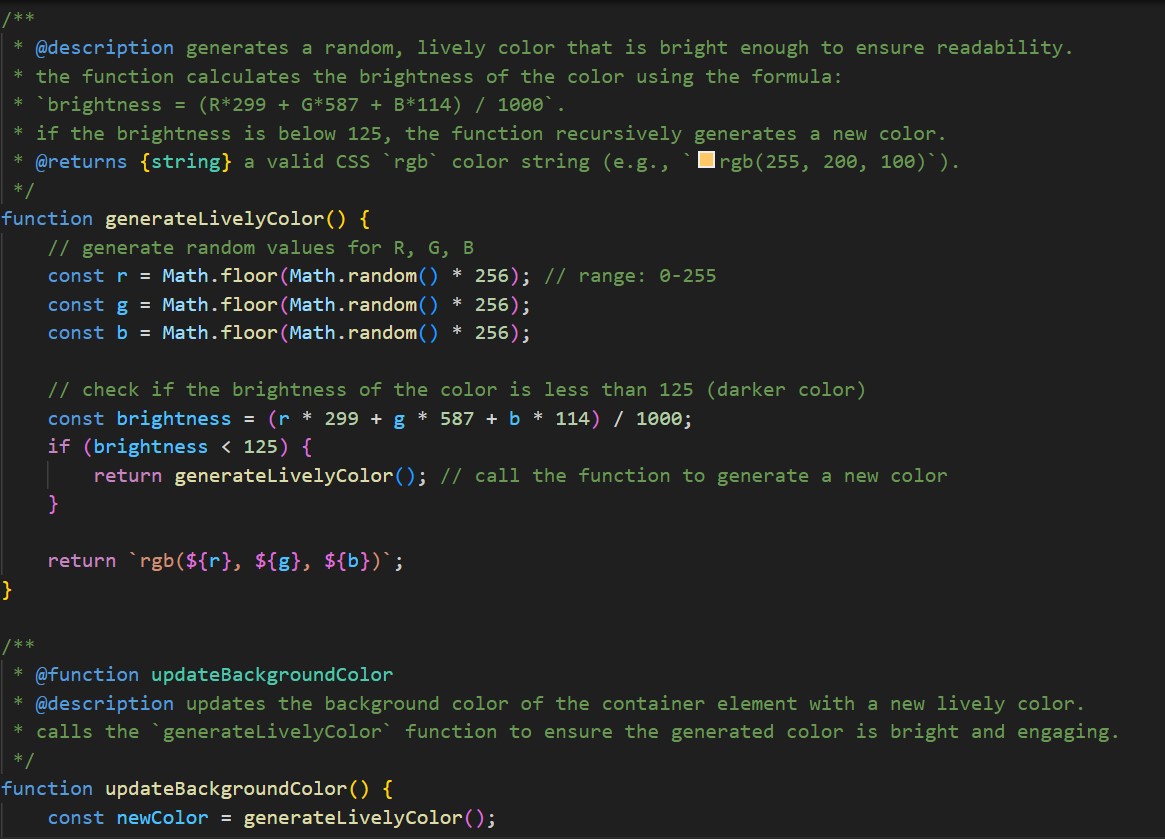
For the JavaScript code, I used JSDoc to comment on my code, this method allows me to
organize and clarify the logic and functions. Since JavaScript can be complex and difficult to
recall after some time, adding comments and using JSDoc helps me improve my understanding
and ensures I can easily follow the code in the future.
ReadMe File
I also created a ReadMe for my portfolio project. The file serves as a helpful reference,
providing essential information on how to set up and run the project, ensuring that anyone
reviewing the code can easily understand how to get the project working on their own system.
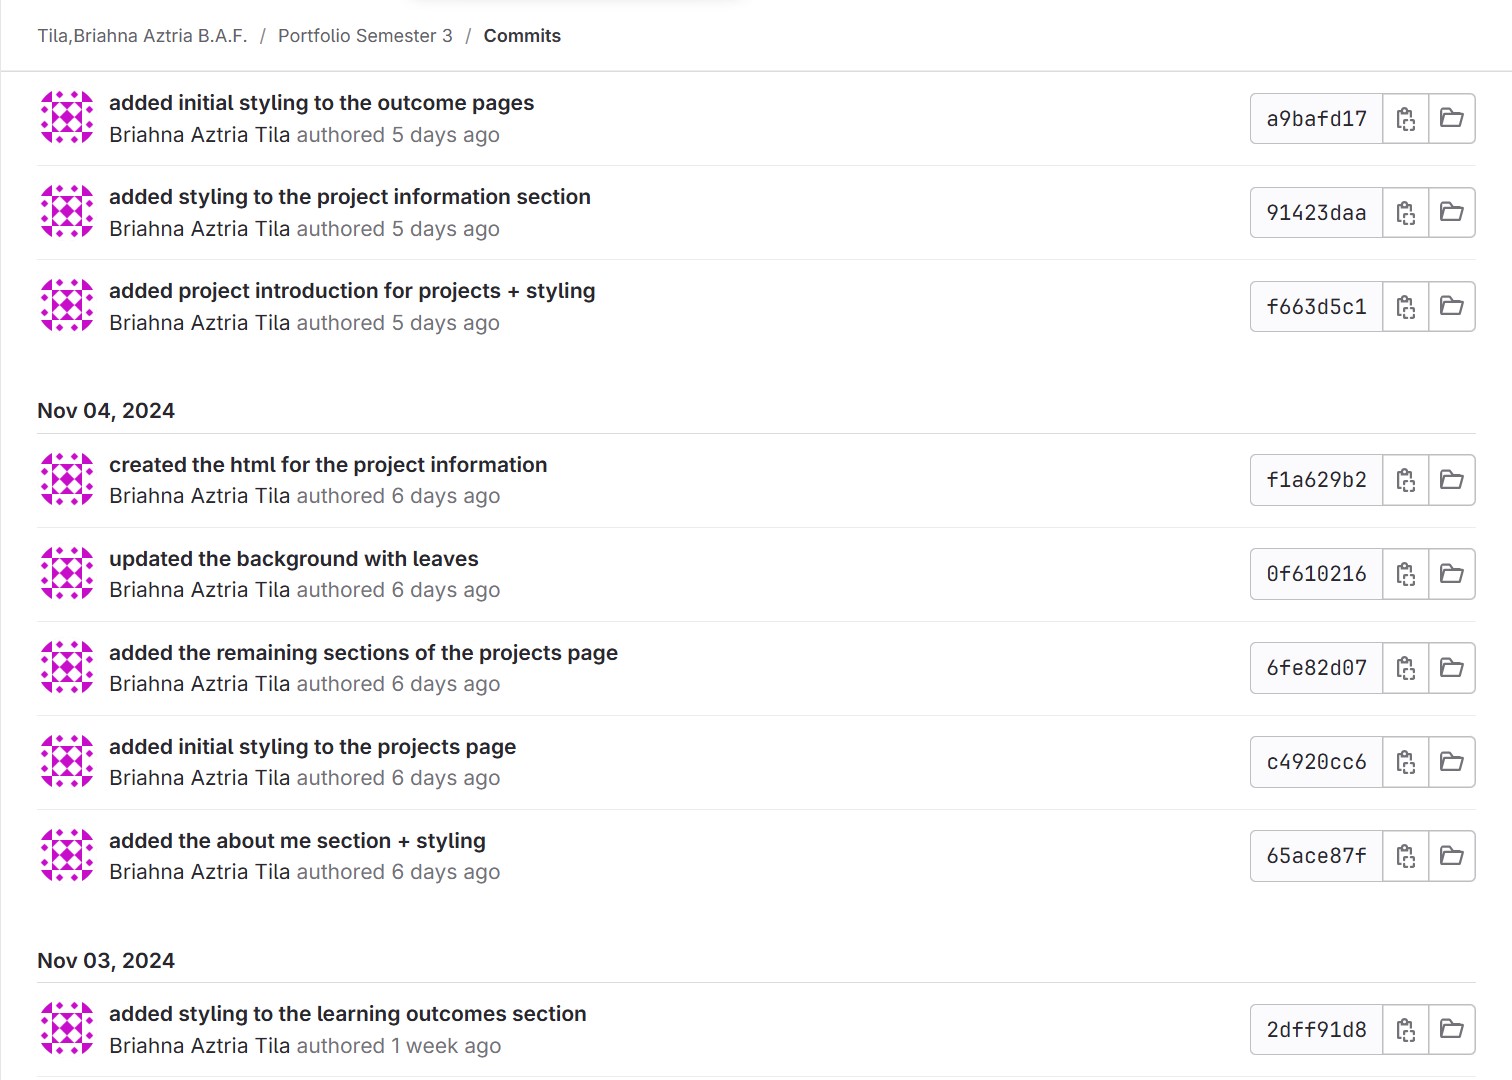
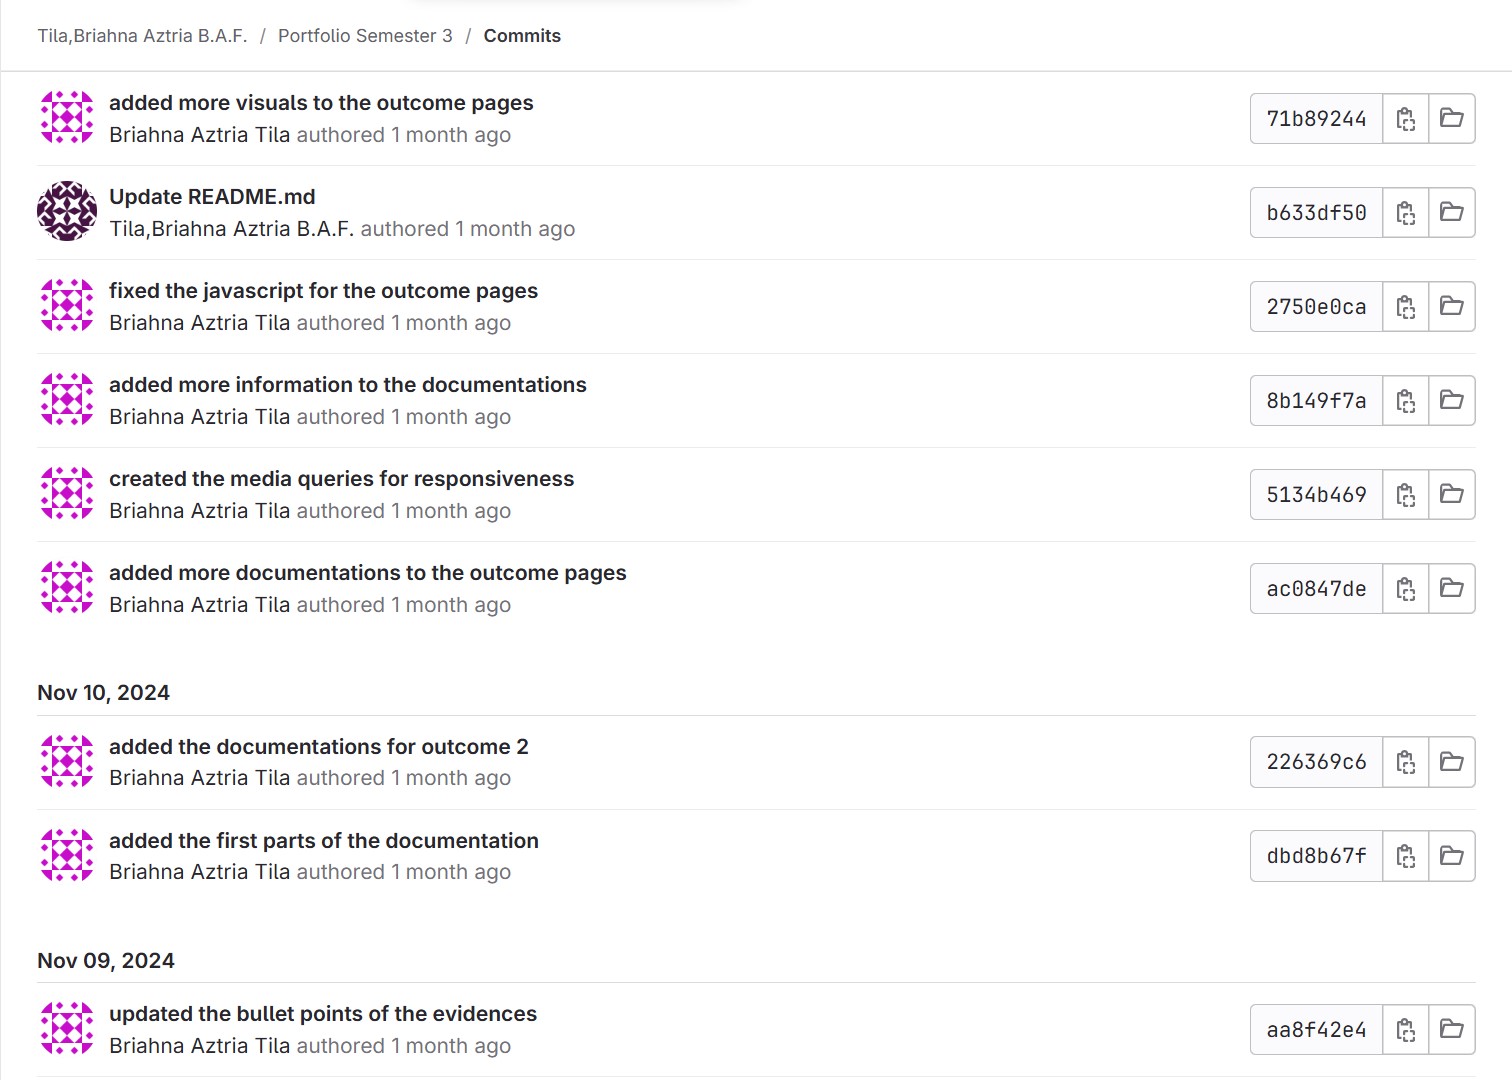
Commit Messages
Reflection
I learned a lot in the process of commenting on my code, especially in JavaScript. This was my
first time using JSDoc, and it helped me organize my code and deepen my understanding by
clearly documenting functions. It was also my first time creating a ReadMe file, and I now see
how important it is. It makes the project’s purpose and structure clear to anyone interacting with
it.
I will continue to use these practices to ensure better documentation, improve clarity, and make
collaboration easier in future projects.
Tic-Tac-Toe
GitLab: https://git.fhict.nl/I522385/tic-tac-toe
Link: https://i522385.hera.fontysict.net/tic-tac-toe/
Introduction
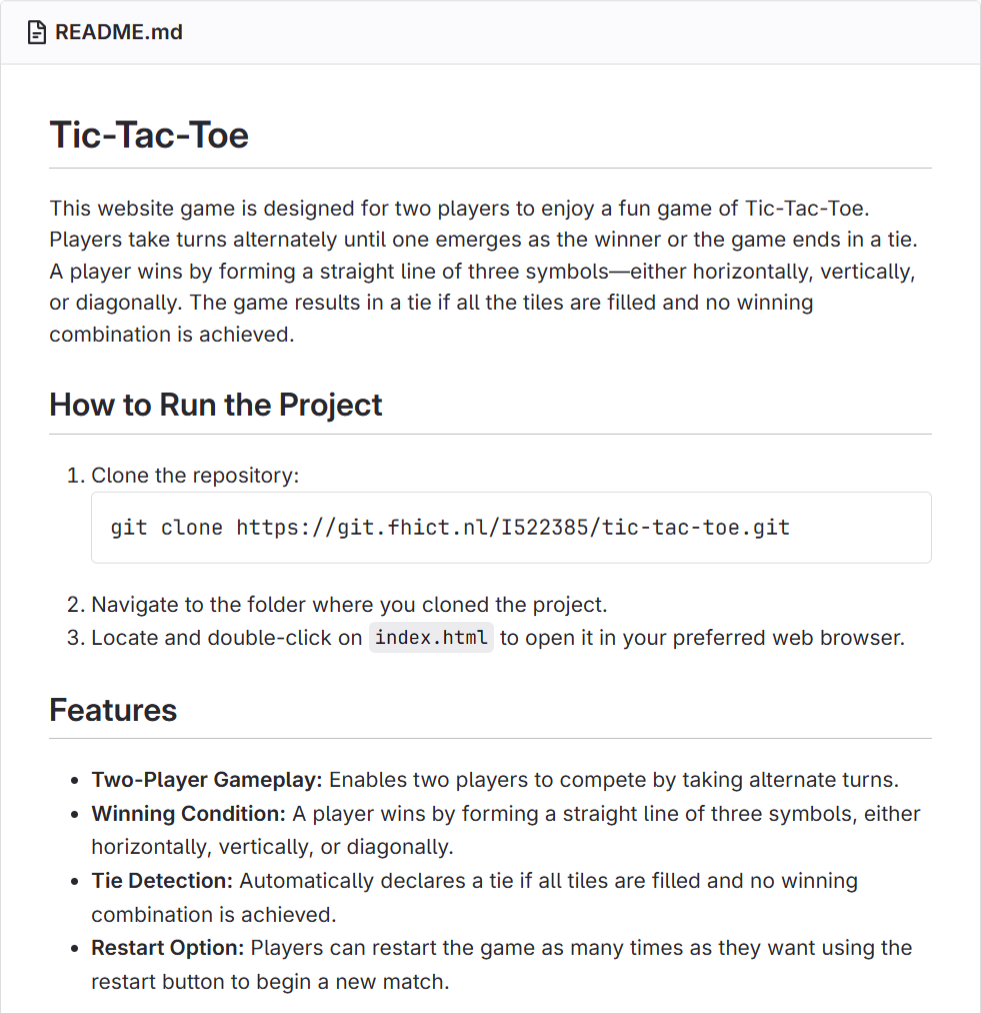
I created a Tic-Tac-Toe game as part of an activity in our class to refresh our knowledge of
JavaScript. The game is designed for two players who take turns placing their symbols (X or O)
on a 3x3 grid. The goal is to form a straight line of three symbols to win. If no one wins, the
game ends in a tie.
Process
I followed an article from Medium on how to create Tic-Tac-Toe using HTML, CSS, and
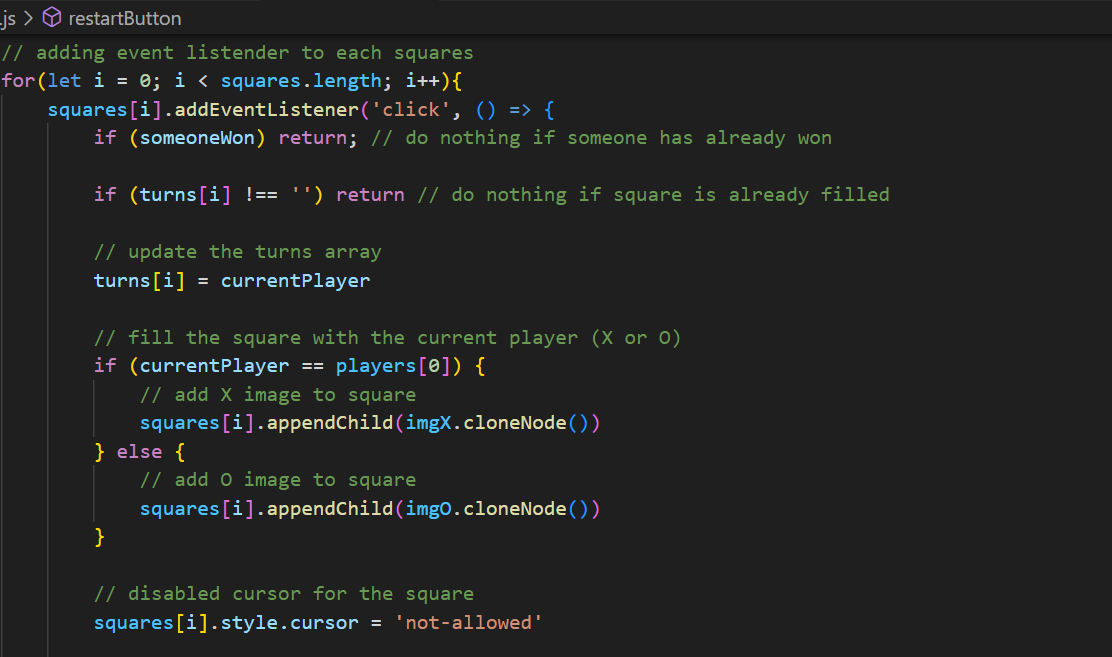
JavaScript. I rewrote the code line by line to better understand the logic behind it. To make sure
I understood the code, I added detailed comments to the JavaScript code, which not only made
it easier for me to follow the steps but also deepened my understanding of the game mechanics
and how the code functions.
Next, I added design elements to improve the look of the game. I turned the X and O symbols
into images to make them more visually appealing and give the game a more polished look.
I also want to make some improvements to the functionality that wasn’t covered in the article. I
disabled the squares once a player wins to prevent further moves. I also highlighted the winning
squares in green to clearly show which part of the grid resulted in a win.
ReadMe File
I uploaded the game to GitLab, making commits throughout the development process. I also
created a ReadMe file to document the project’s purpose, functionality, and instructions for
running the game.
Reflection
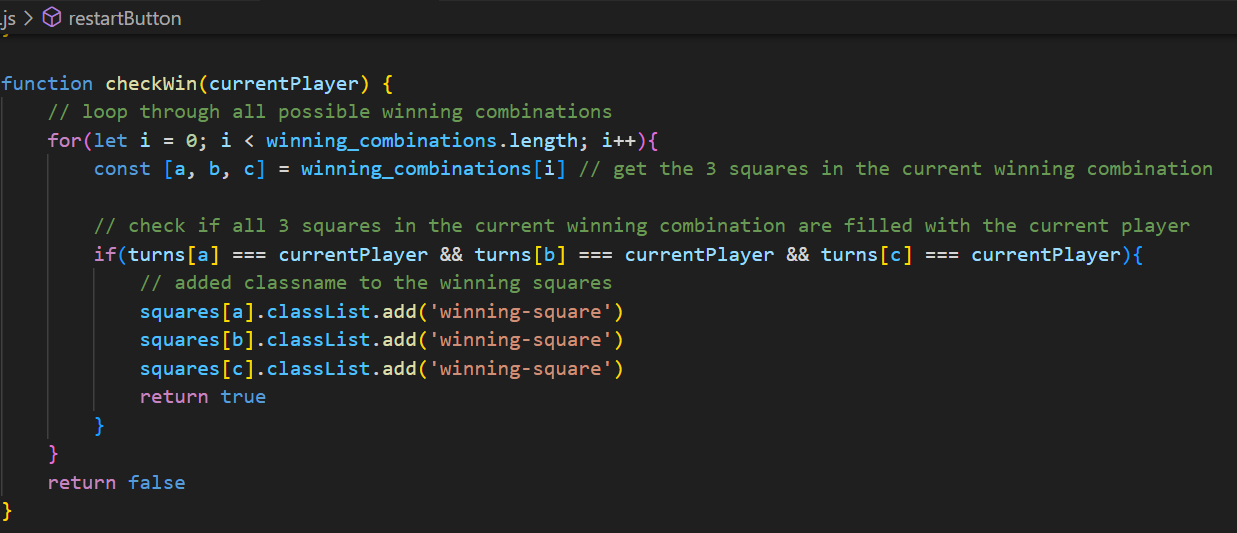
I understood in class how winning combinations work in Tic-Tac-Toe. I also learned how to
display images like the X and O symbols in each square using JavaScript. One important
function I used was cloneNode(), which helped me display the images without losing any of
them in the squares. This was especially useful because it allowed me to clone elements for
repeated use in the game. This task helped refresh my knowledge of JavaScript, particularly
working with events, functions, and DOM manipulation.
Game Development
Group GitLab: https://git.fhict.nl/I522385/upcycling-with-besties
My Branch: https://git.fhict.nl/I522385/upcycling-with-besties/-/tree/briahna
Introduction
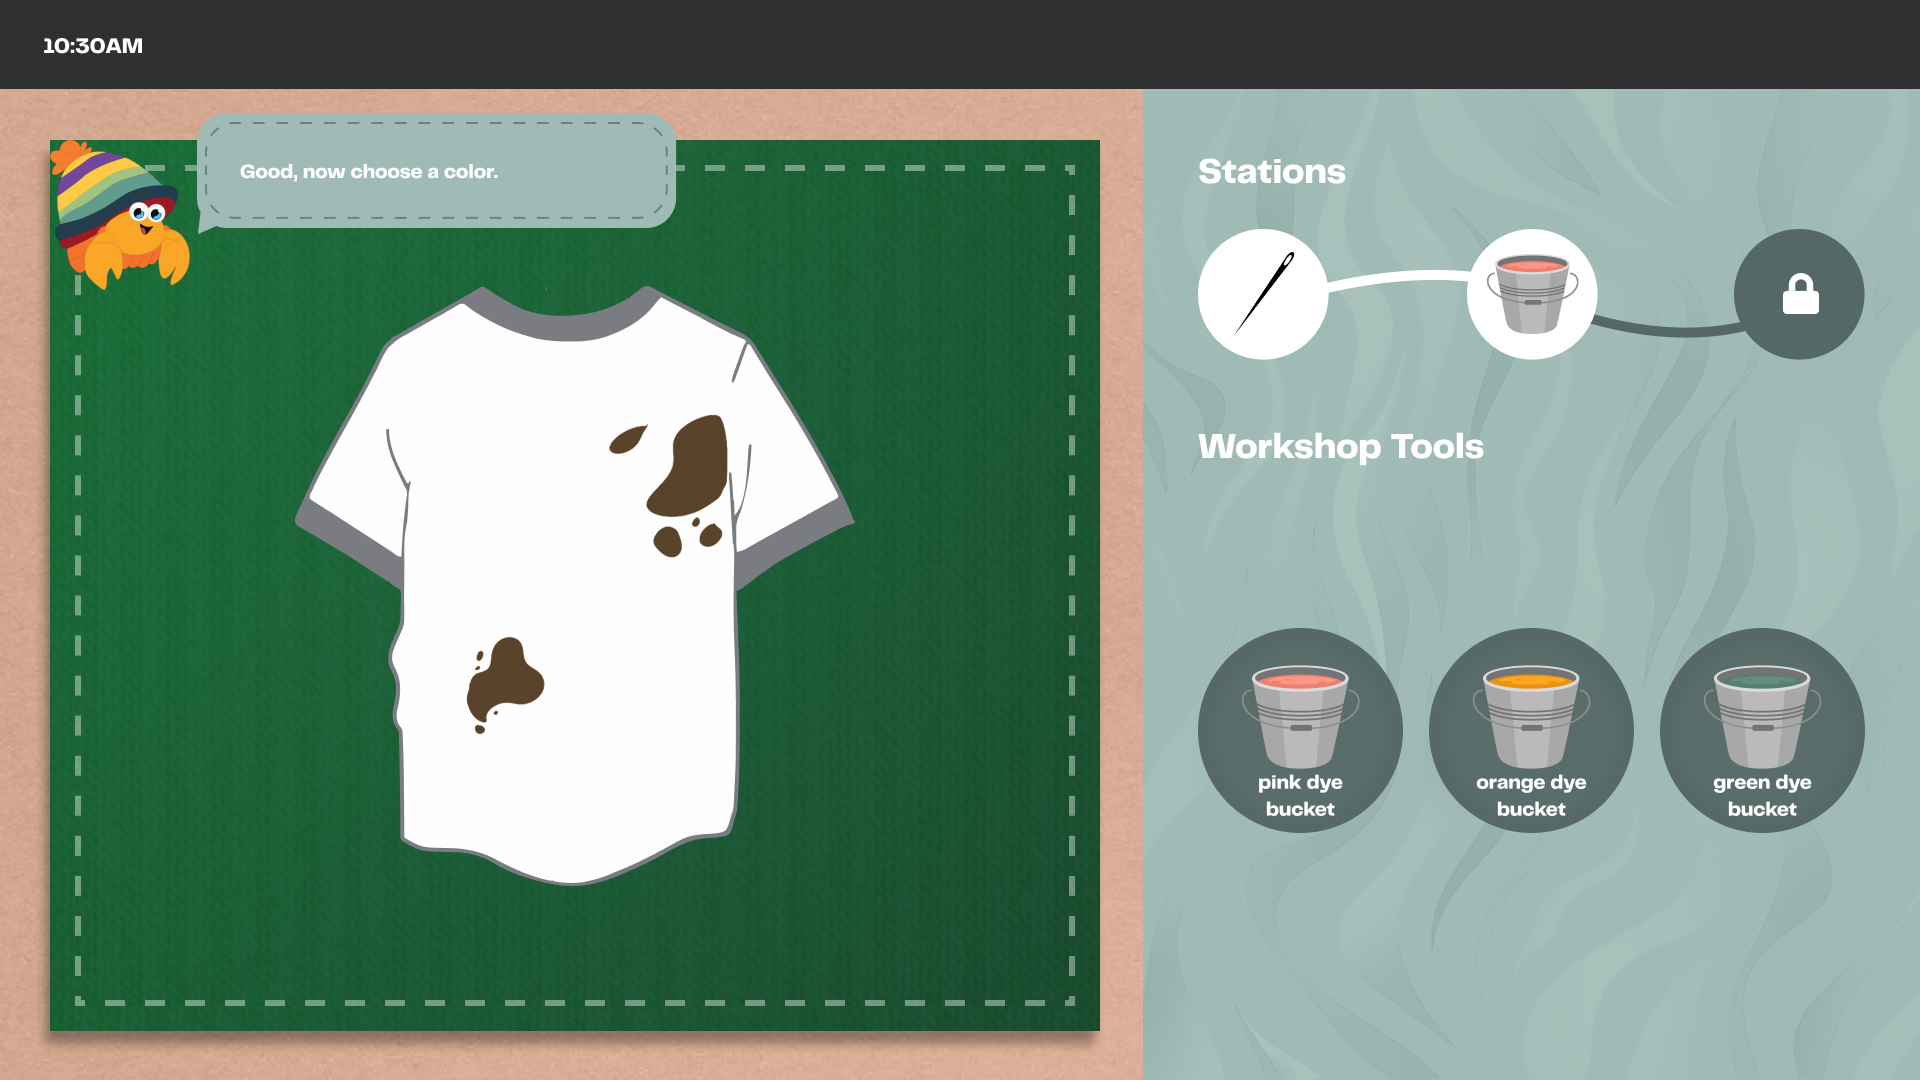
I developed a station for our game Upcycling with Besties, which teaches young people how to
upcycle clothes through activities like patching, dying, and cutting. My task was to work on the
dyeing station, one of the key features in the game.
Process
I led the creation of the GitLab repository for our group, and each member created their own
branch. Afterward, we had an online meeting to discuss the tasks. During the meeting, I was
assigned to develop the dye bucket feature for Station 2.
At first, I wasn’t sure how to begin because I had no prior experience working on such a
complex project. But after understanding the requirements, I started working on my branch. To
get started, I looked for references online and explored similar drag-and-drop functionalities to
better understand how to implement them.
I used my groupmate’s code as a foundation for the UI and updated the comments for clarity. I
then updated the HTML and CSS files by adding the necessary classes and styles to implement
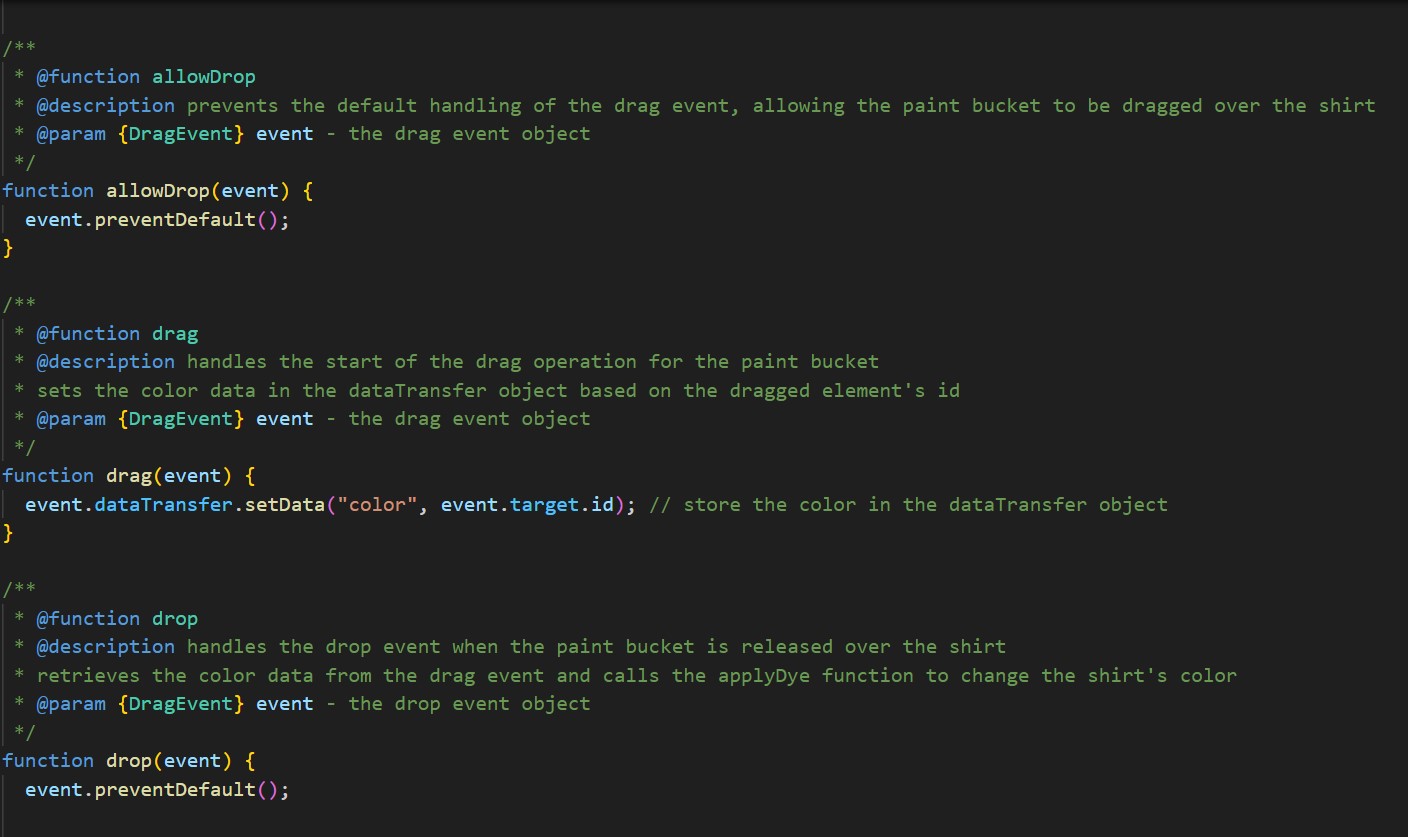
the feature correctly. By referring to MDN Web Docs and experimenting with the drag-and-drop
functionality, I was able to improve my code and make the feature work smoothly.
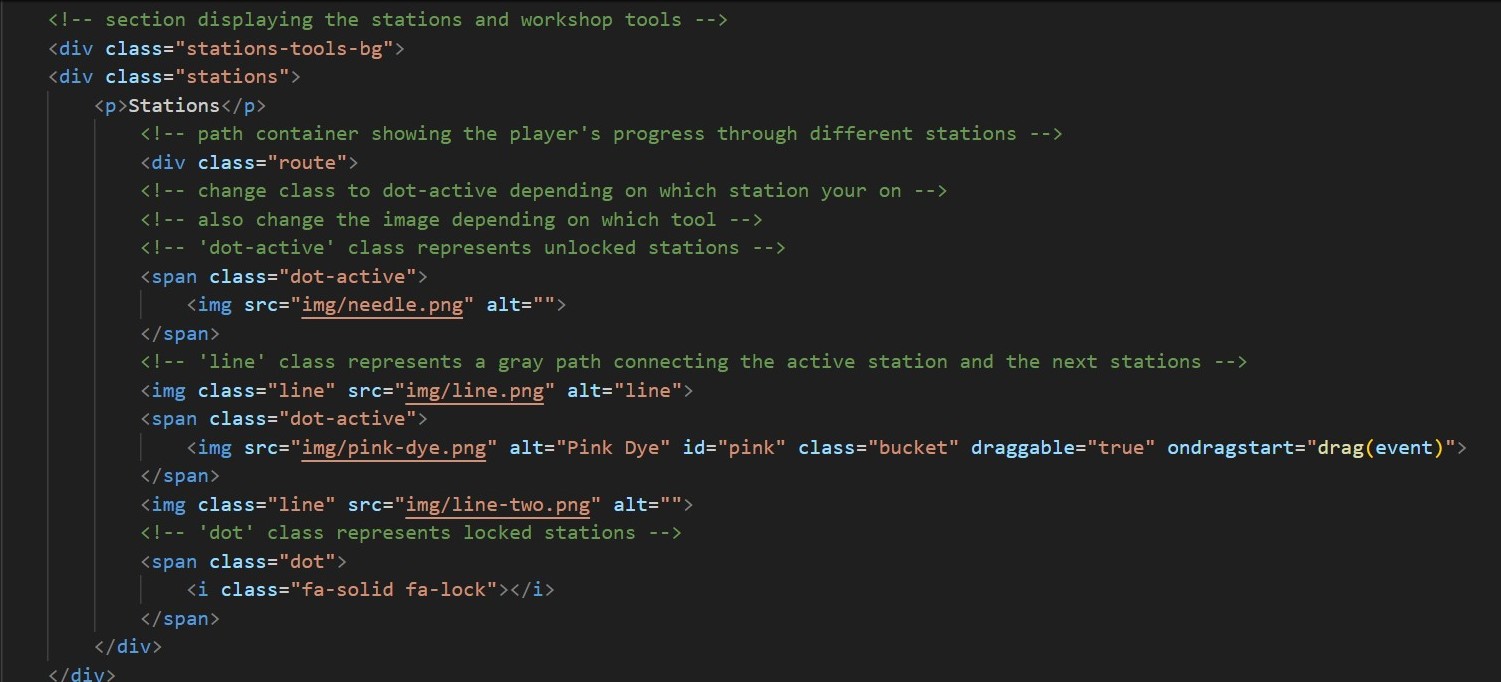
I wrote clear code comments using JSDoc to help my teammates understand and connect the
stations. I committed regularly to my branch and merged updates into the main branch to keep
everything up to date. Merging my branch to the main went smoothly, and I was able to avoid
conflicts with the help and collaboration of my groupmate.
JavaScript Link: Station 2
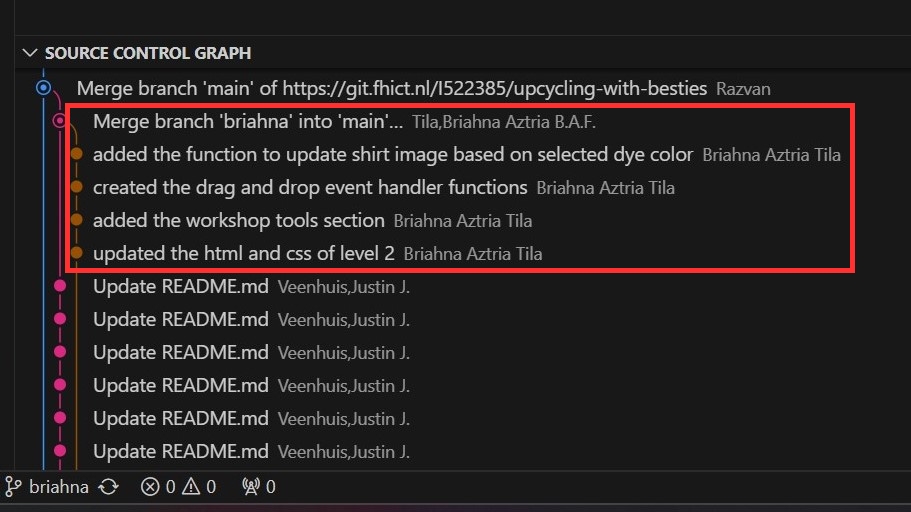
Branches
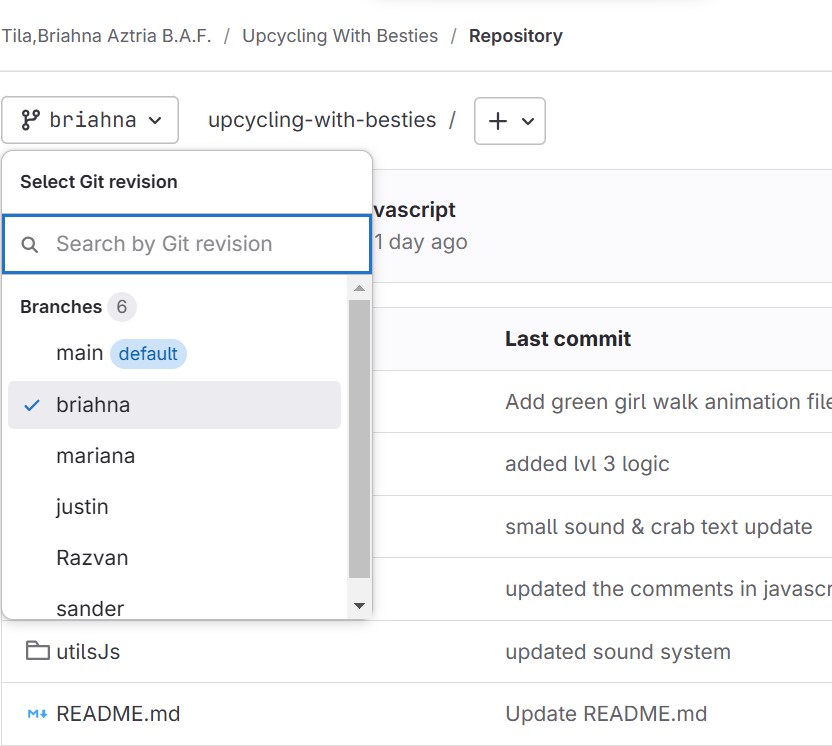
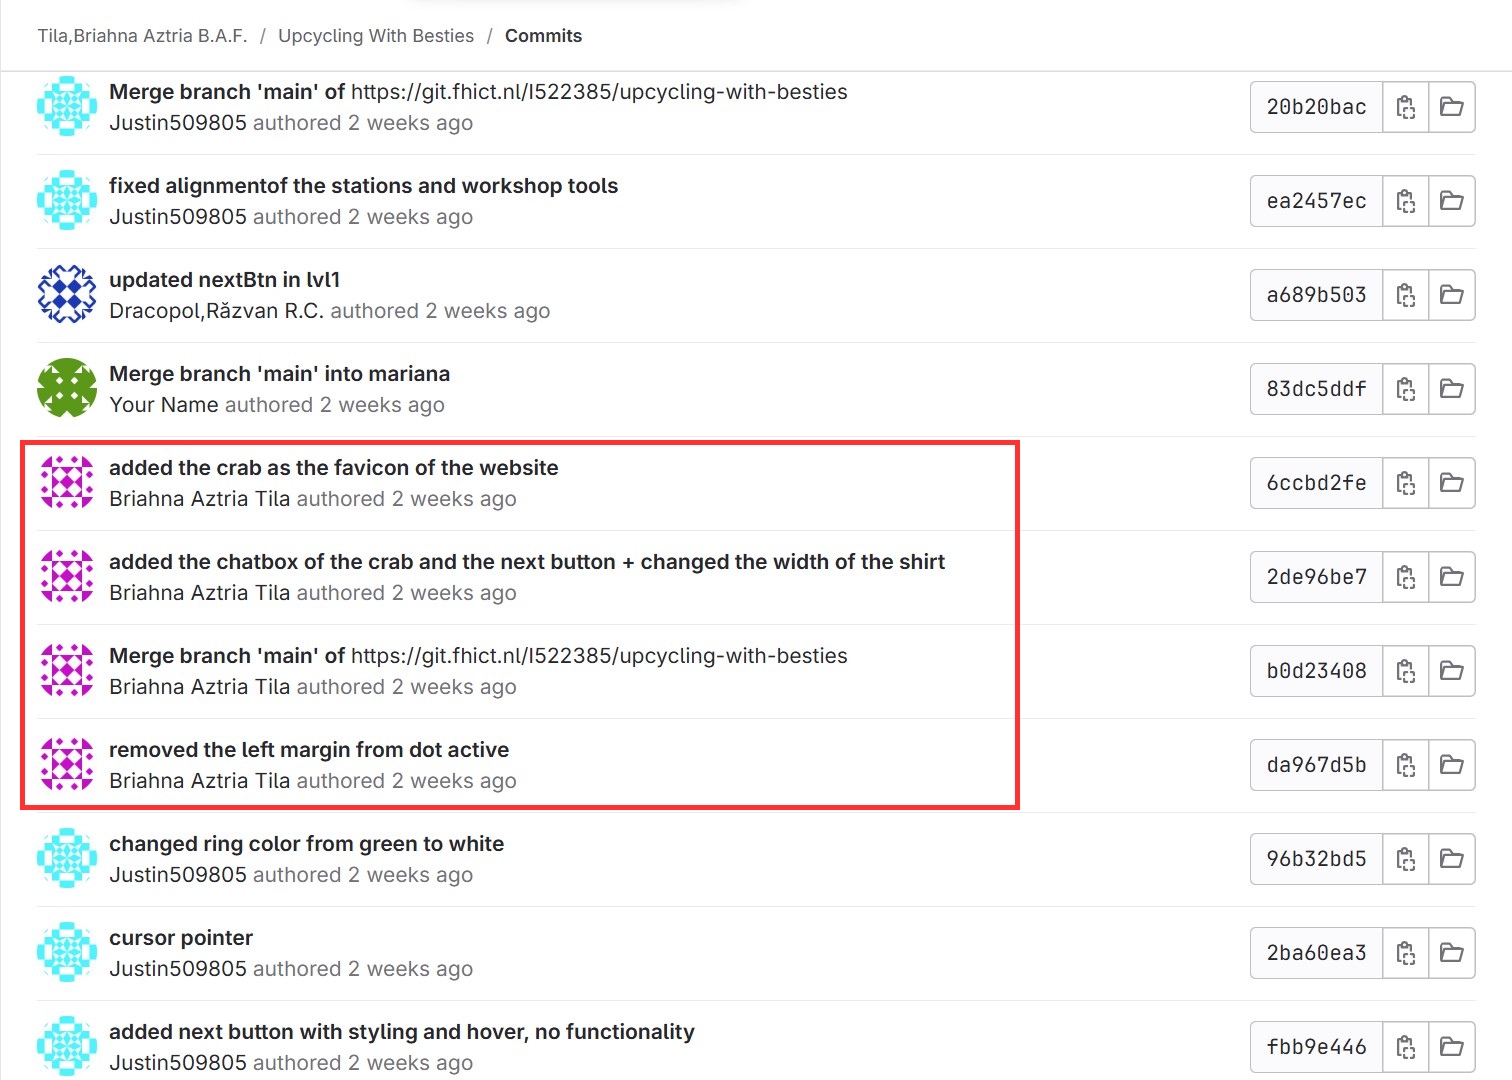
Commit Messages
Reflection
The development process was fun and allowed me to apply my skills to a real-world project. I
learned how to work with branches, including the importance of working within my own branch,
as it helped keep my tasks organized and minimized conflicts with the main branch. I also
learned the importance of pushing updates regularly, writing clear comments, and using commit
messages.
JavaScript Counter
GitLab: https://git.fhict.nl/I522385/javascript-counter
Link: https://i522385.hera.fontysict.net/javascript-counter/
Introduction
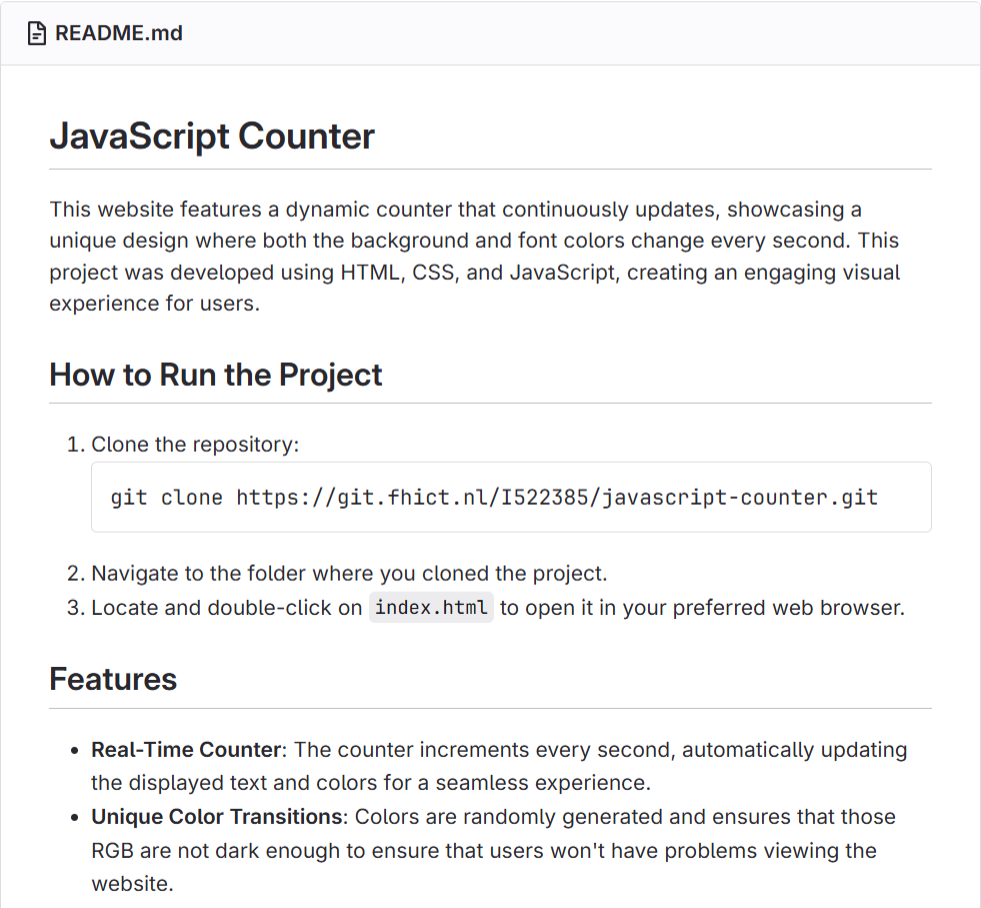
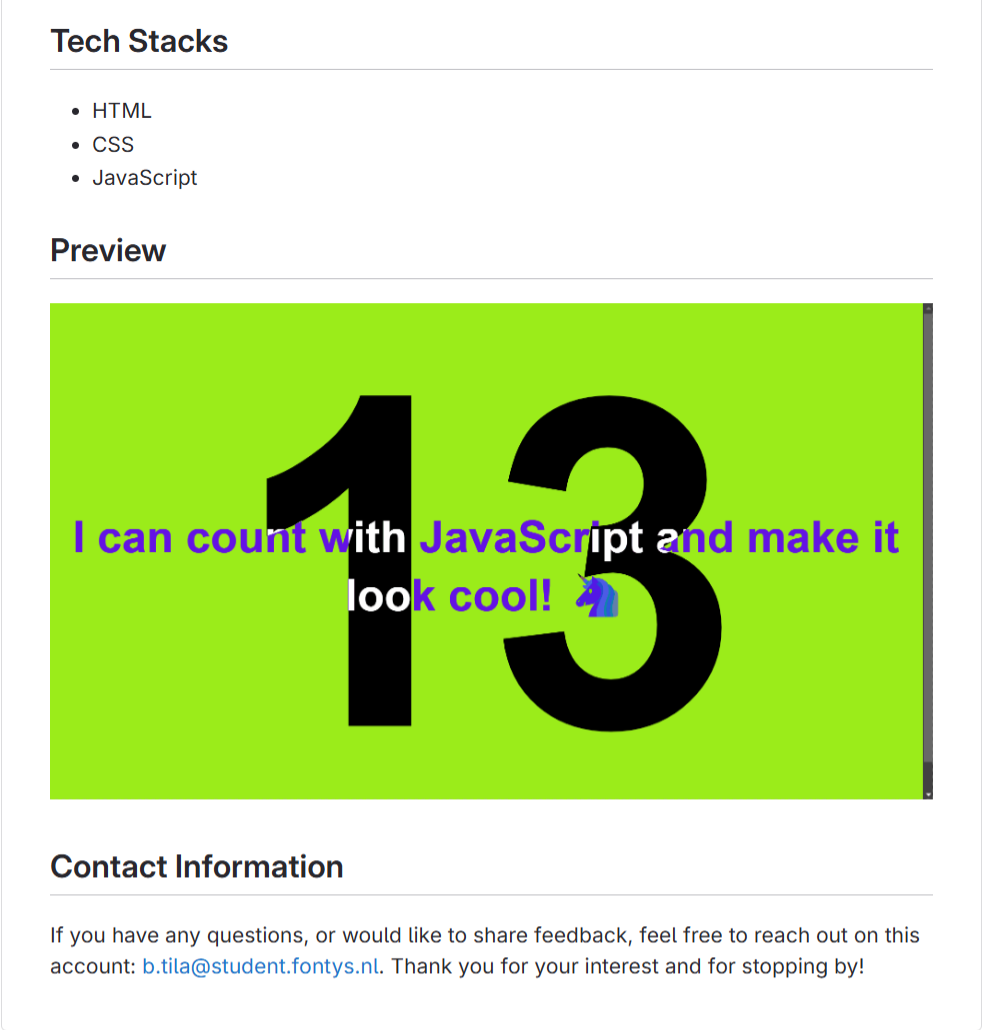
During my free time, I decided to create a fun and simple challenge from Canvas using HTML,
CSS, and JavaScript. The goal was to design a webpage with a dynamic counter that starts at
zero and updates every second. With each update, the background color changes to random
hues while keeping the text readable. The counter is centered both horizontally and vertically on
the screen, combining functionality with an engaging design.
Process
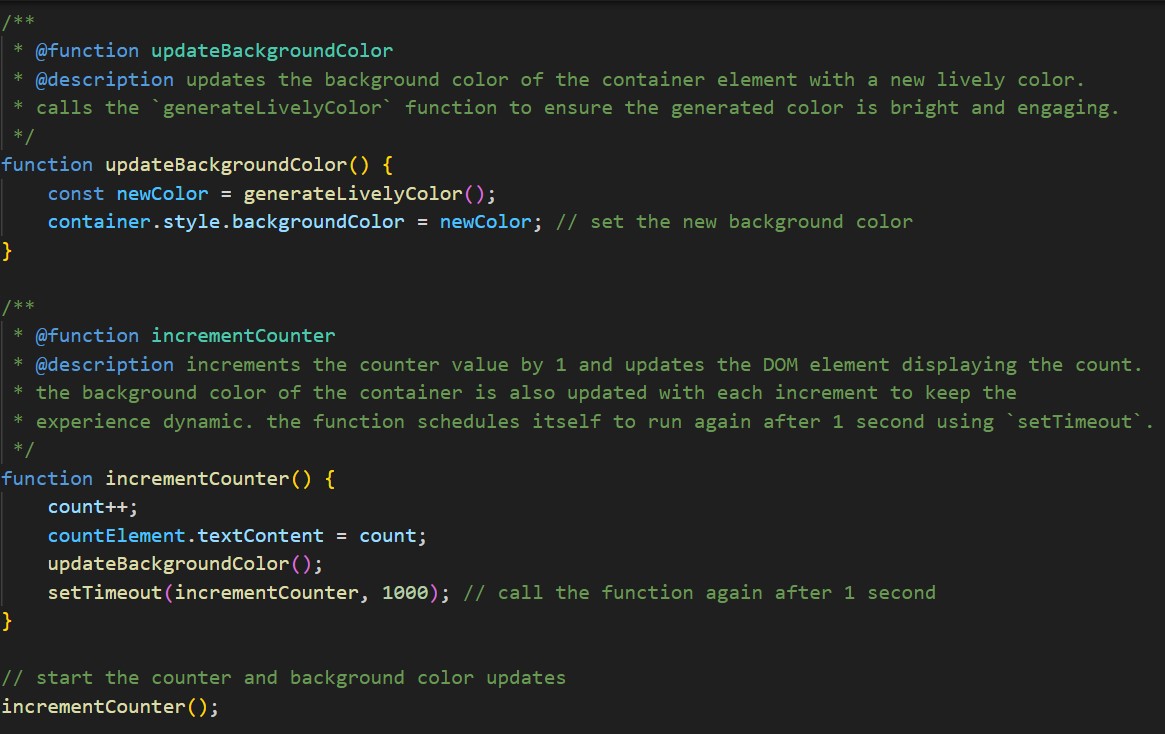
I created this project to apply what I learned about HTML, CSS, and JavaScript. To create the
JavaScript counter, I added ID attributes to the HTML elements (for the number, background,
and text) to make them accessible in JavaScript. I then created variables for these elements
and another variable to hold the count, which was initially set to 0. The counter updates every
second using setTimeout(), incrementing the count by 1 and changing the background color to a
random RGB value.
A challenge I faced was finding the right CSS style, which I resolved by using the
mix-blend-mode property for the design.
I made sure to include clear and detailed comments explaining the purpose of each section and
its logic. This practice not only helped me understand my own code better but also ensured that
it would be easier to maintain or modify in the future.
Commit Messages and ReadMe File
I developed the project on GitLab, making clear commit messages to track progress. I also
created a ReadMe file to document the project’s purpose, functionality, and instructions,
ensuring it is clear and easy to understand for anyone reviewing it.

Website Development
GitLab: https://git.fhict.nl/I522385/filipino-driver-europe
Link: https://i522385.hera.fontysict.net/
Introduction
For my passion project, I developed a website for Filipino Driver Europe, a small business
owned by Patrick Manalad, a Filipino based in Rome who offers van services and tours across
Europe. The site showcases the company’s services, with Patrick as the stakeholder and
Filipino tourists as the target audience. The goal was to create a user-friendly platform that
allows customers to easily explore the services, book tours, and help the business reach more
Filipino travelers looking for convenient and reliable transportation across Europe.
Key Features
The website will provide Filipino tourists with easy access to van services and tours across
Europe. It will feature:
- A detailed overview of the business and the services offered.
- A comprehensive list of tours, including city descriptions and images.
- A feedback section for clients to share their experiences.
- An online booking system where users can schedule their tours.
These functionalities are designed to enhance user experience and make trip planning smooth
and efficient.
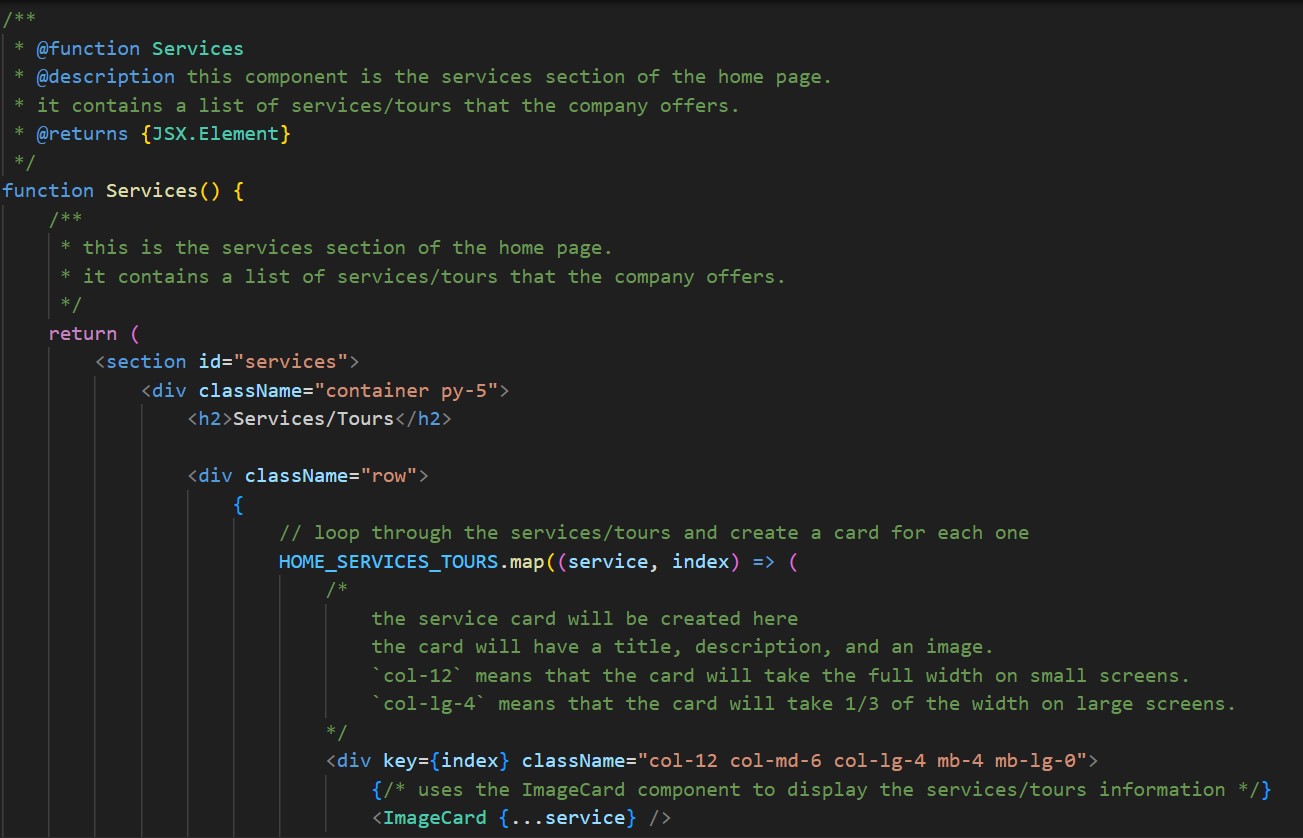
Frameworks
I used ReactJS and Bootstrap to build the website for Filipino Driver Europe. I chose ReactJS
because I wanted to explore different frameworks and found its reusable components helpful for
making the website easier to manage and update. I also organized the content in a JSON-like
structure so clients can easily update text, images, and other elements without changing the
code. To learn ReactJS, I watched the React Full Course for free and used the official Quick
Start – React guide.
Then, I used Bootstrap to style the website and make it responsive. I wanted to explore
Bootstrap because it’s a quick and easy way to design layouts and make the site
mobile-friendly. I watched the Install Bootstrap in React JS Beginner Tutorial to learn how to
integrate it with ReactJS, which helped me set up the layout faster and create a simple,
user-friendly design.
Process
After getting approval for the prototype, I started coding the website. I used Vite to create a
ReactJS project, which I set up by installing Node.js on my device to use npm and following the
Vite guide for ReactJS. The project was tracked on GitLab, where I made regular commits to
monitor progress.
I made sure the website was responsive, keeping in mind that most users would likely access
the site from their phones. To ensure a smooth mobile experience, I used Bootstrap’s grid
system and responsive utilities, which made it easy to adjust the layout for different screen
sizes.
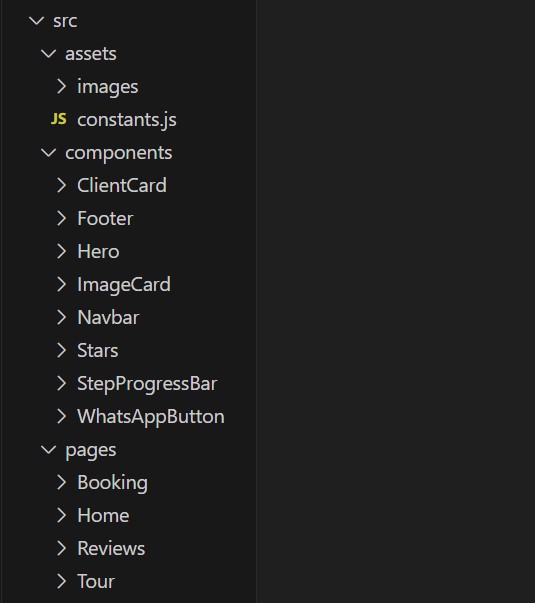
File Structure
I created several pages for this project including Home, Tour, Reviews, and Booking. I made
sure the file structure was organized and easy to understand, which is important for maintaining
and growing a ReactJS project.
A clear file structure helps me quickly locate the necessary files and components, ensuring
efficient development and easier collaboration. By keeping components, assets, and pages
properly separated, I was able maintain a smooth workflow and ensure the project remains
manageable as it grows.

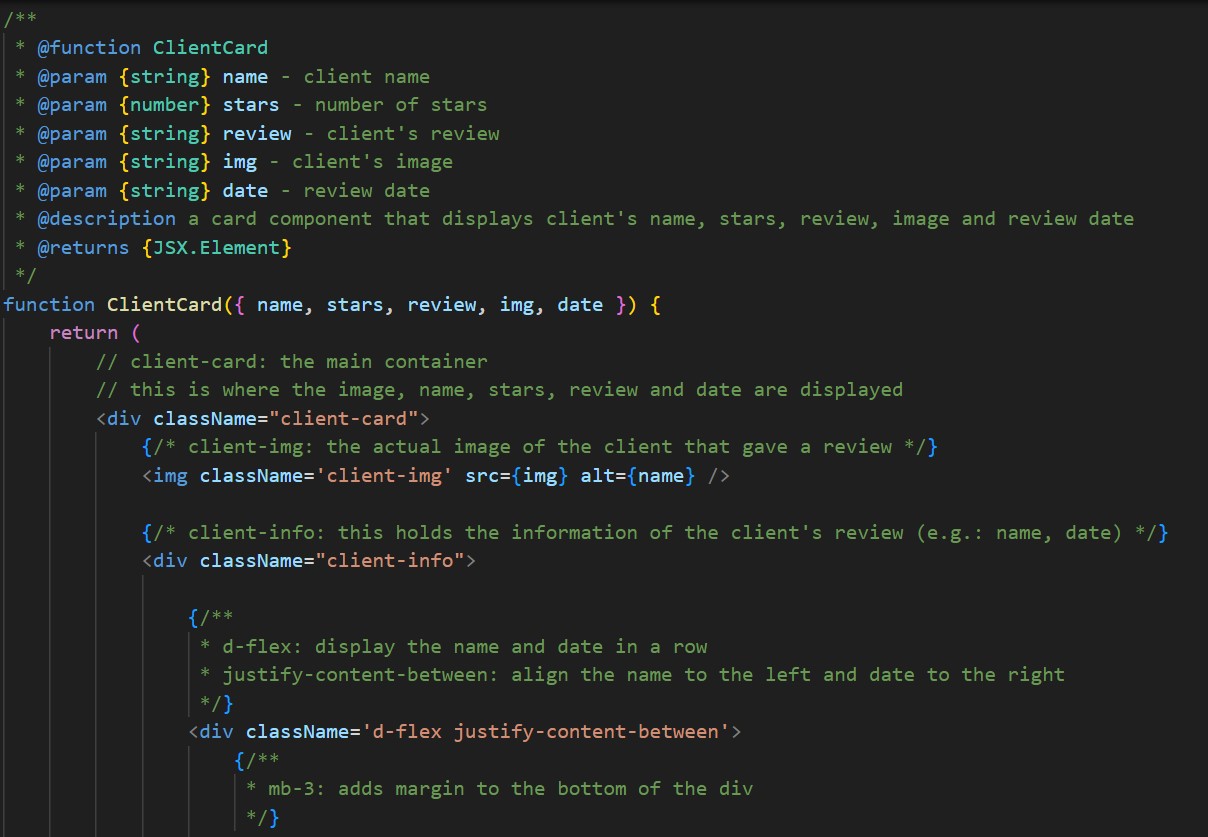
Comments
I commented on my code to explain its functionality and logic clearly. This was important as it
not only helped me understand my own code but also made it easier for others, including
stakeholders, to follow the thought process behind each section. Following my teacher’s
feedback, I made the comments detailed to improve readability and maintainability. I also used
JSDoc comments for structured documentation to enhance the clarity of the code.
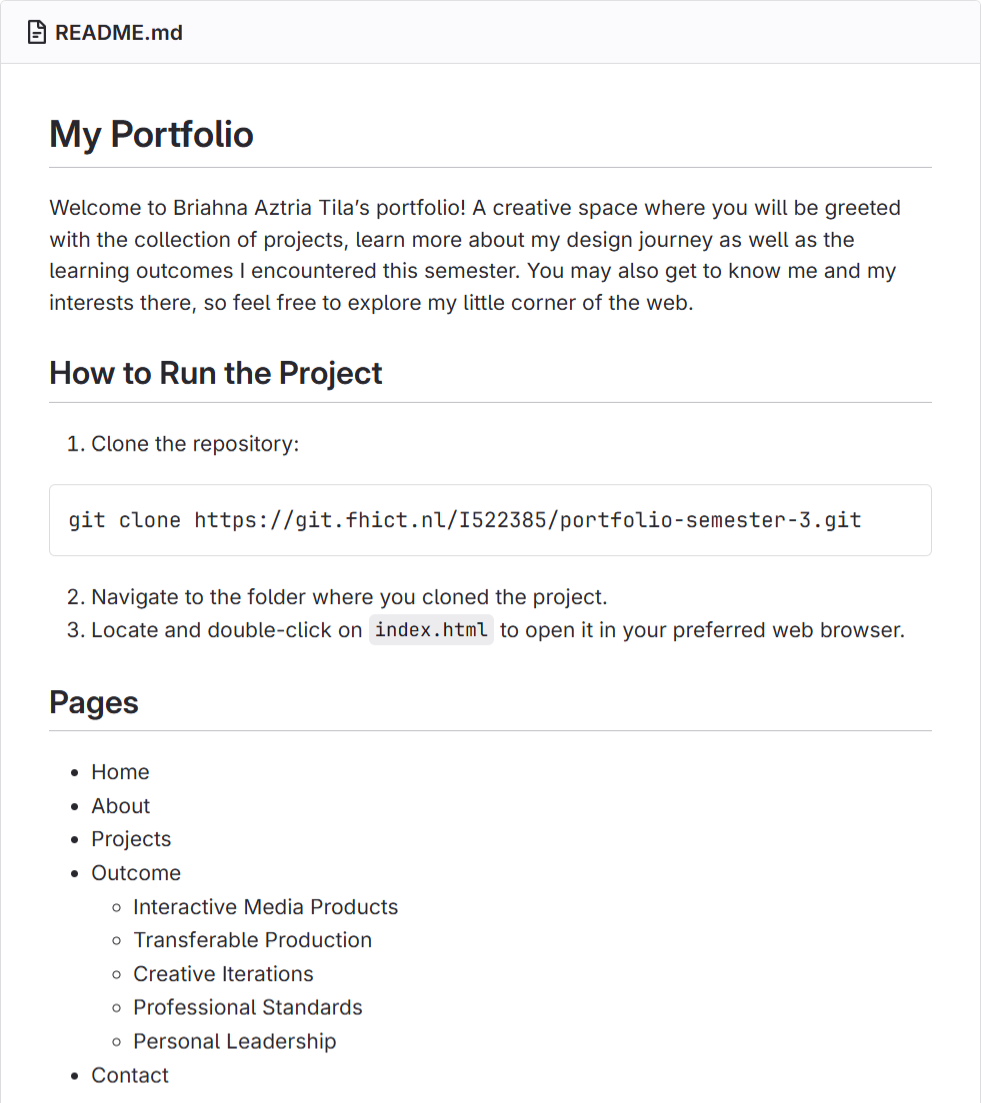
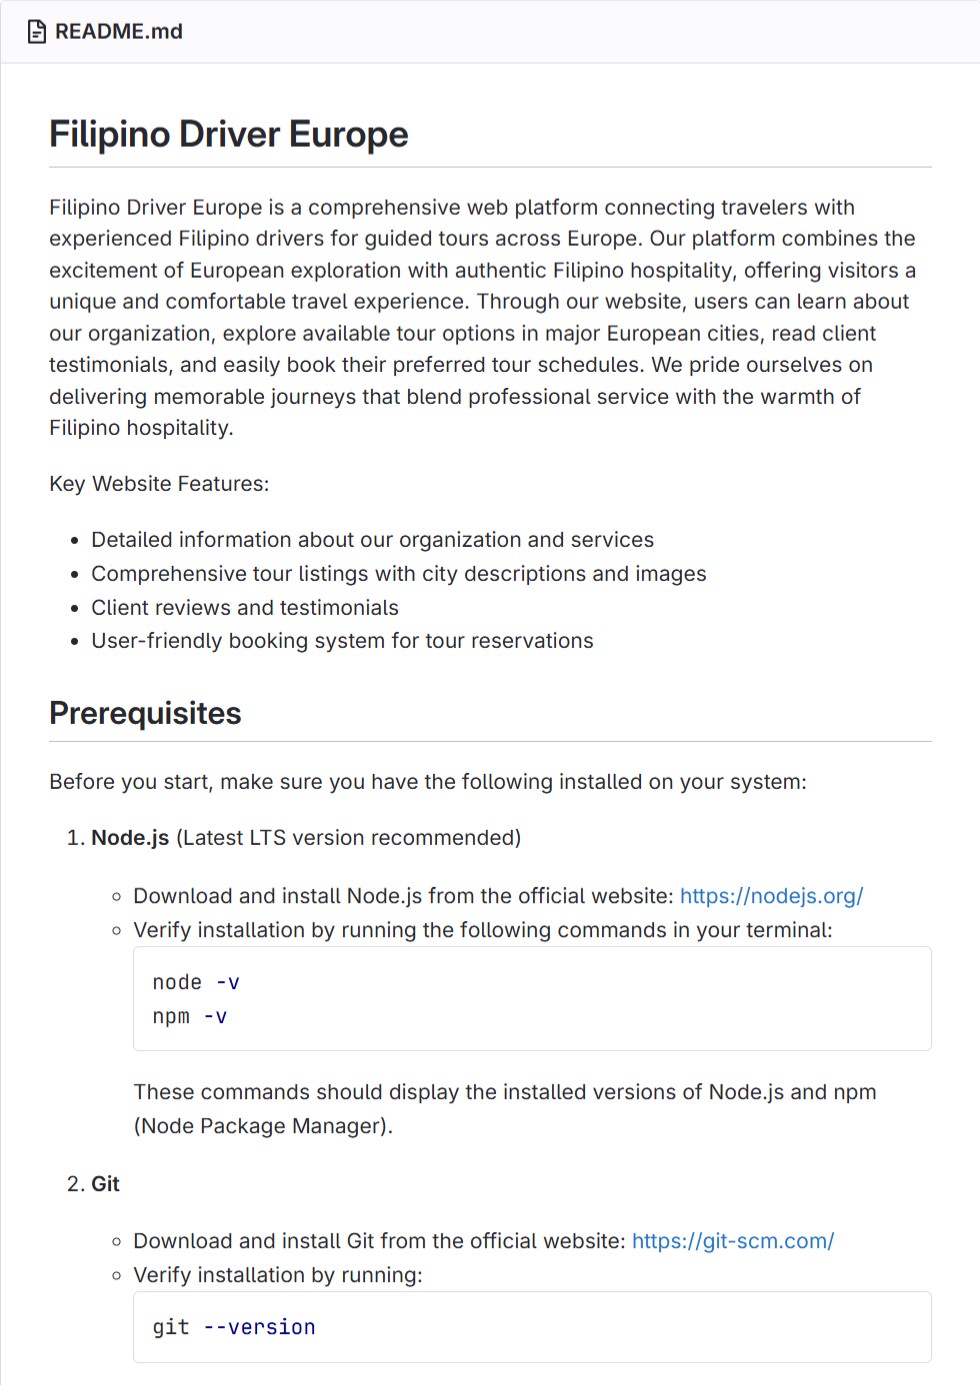
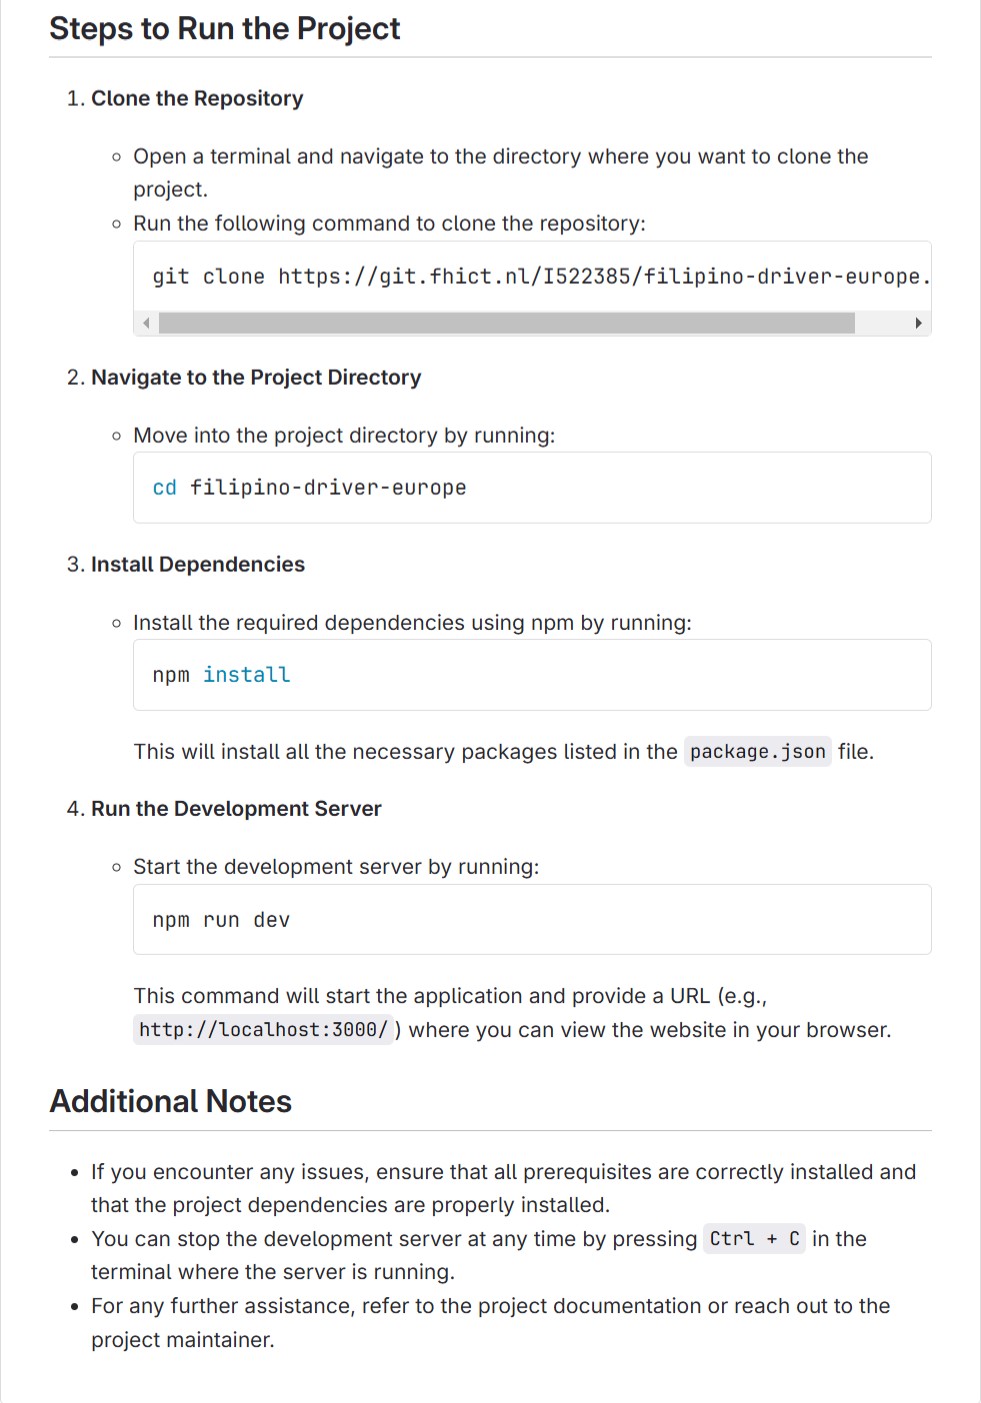
ReadMe File
I created a ReadMe file to provide complete and clear instructions on setting up and running the
Filipino Driver Europe website. This includes step-by-step guidance for installing prerequisites,
cloning the repository, installing dependencies, and running the development server on a local
machine.
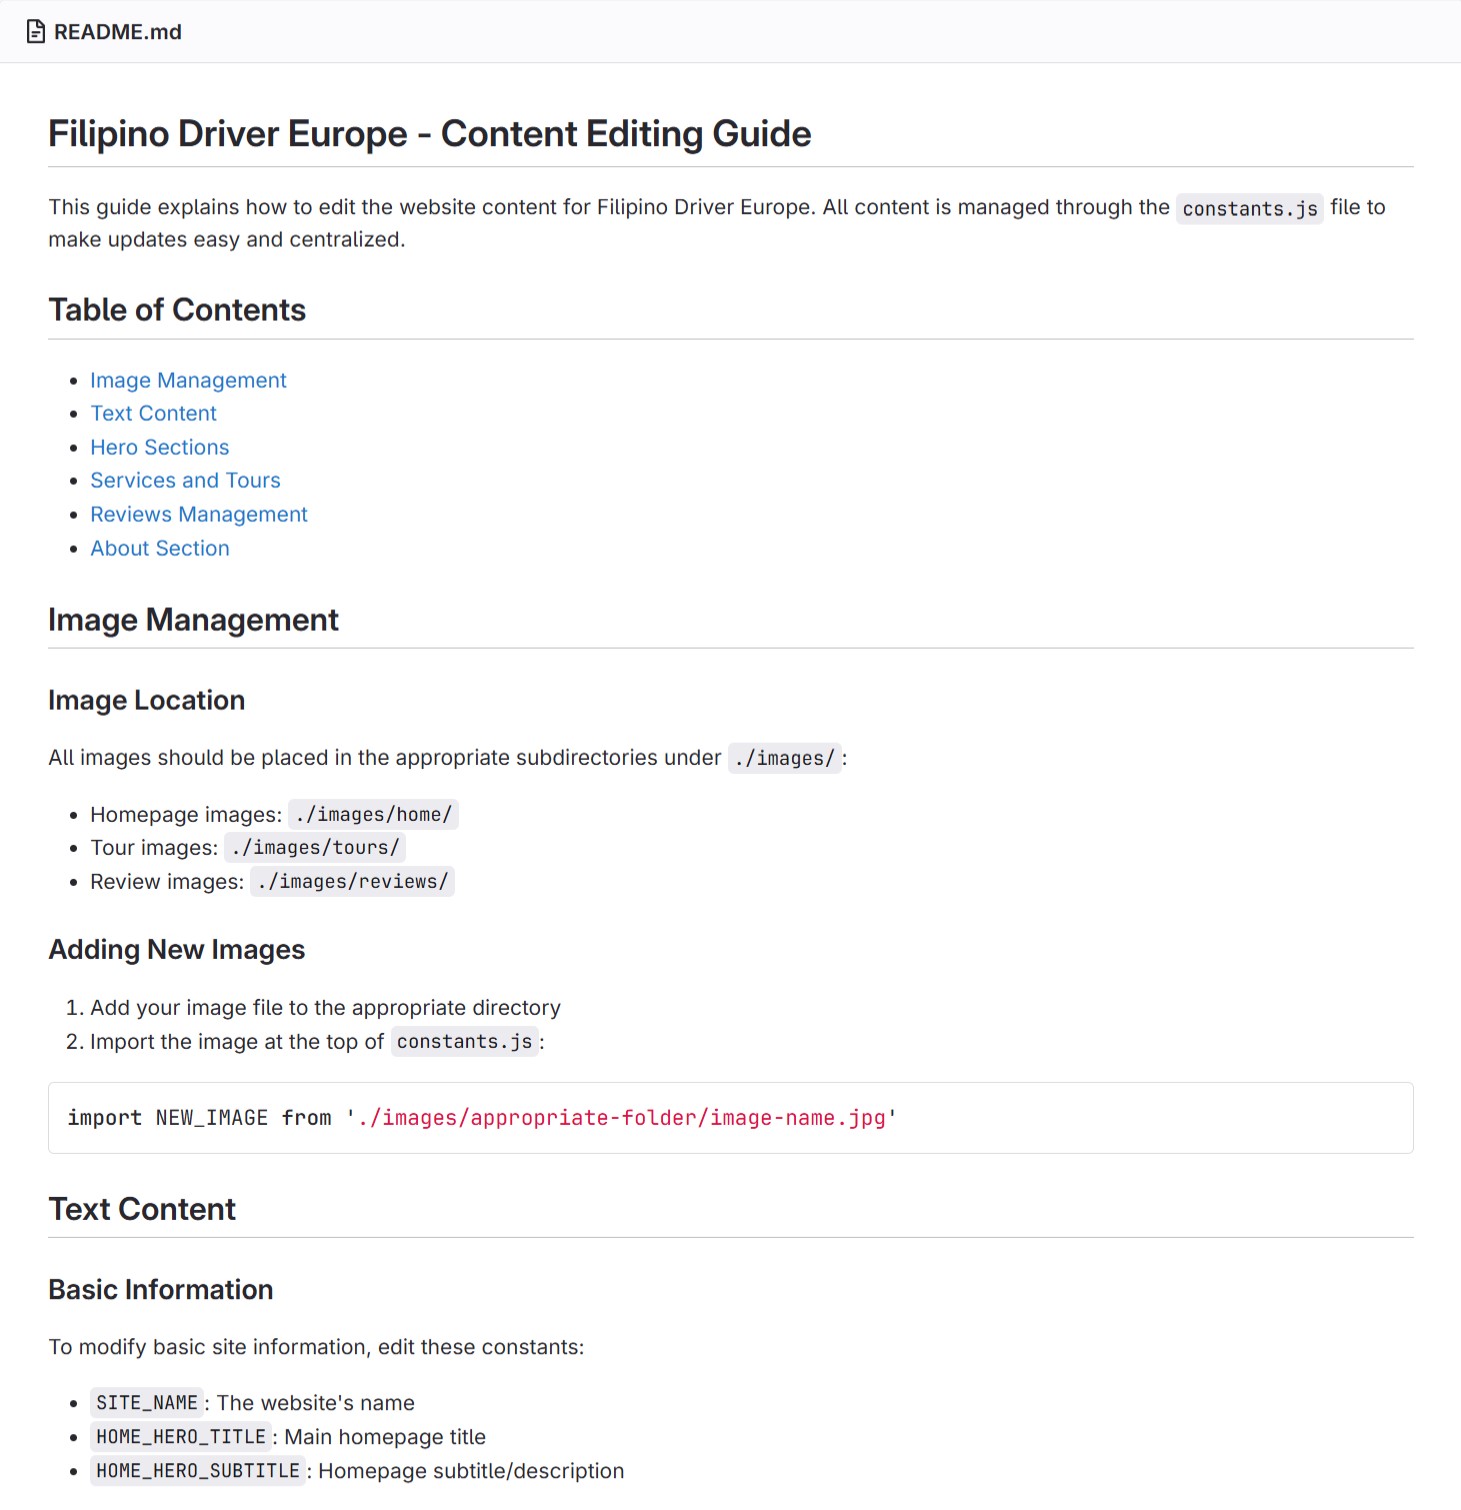
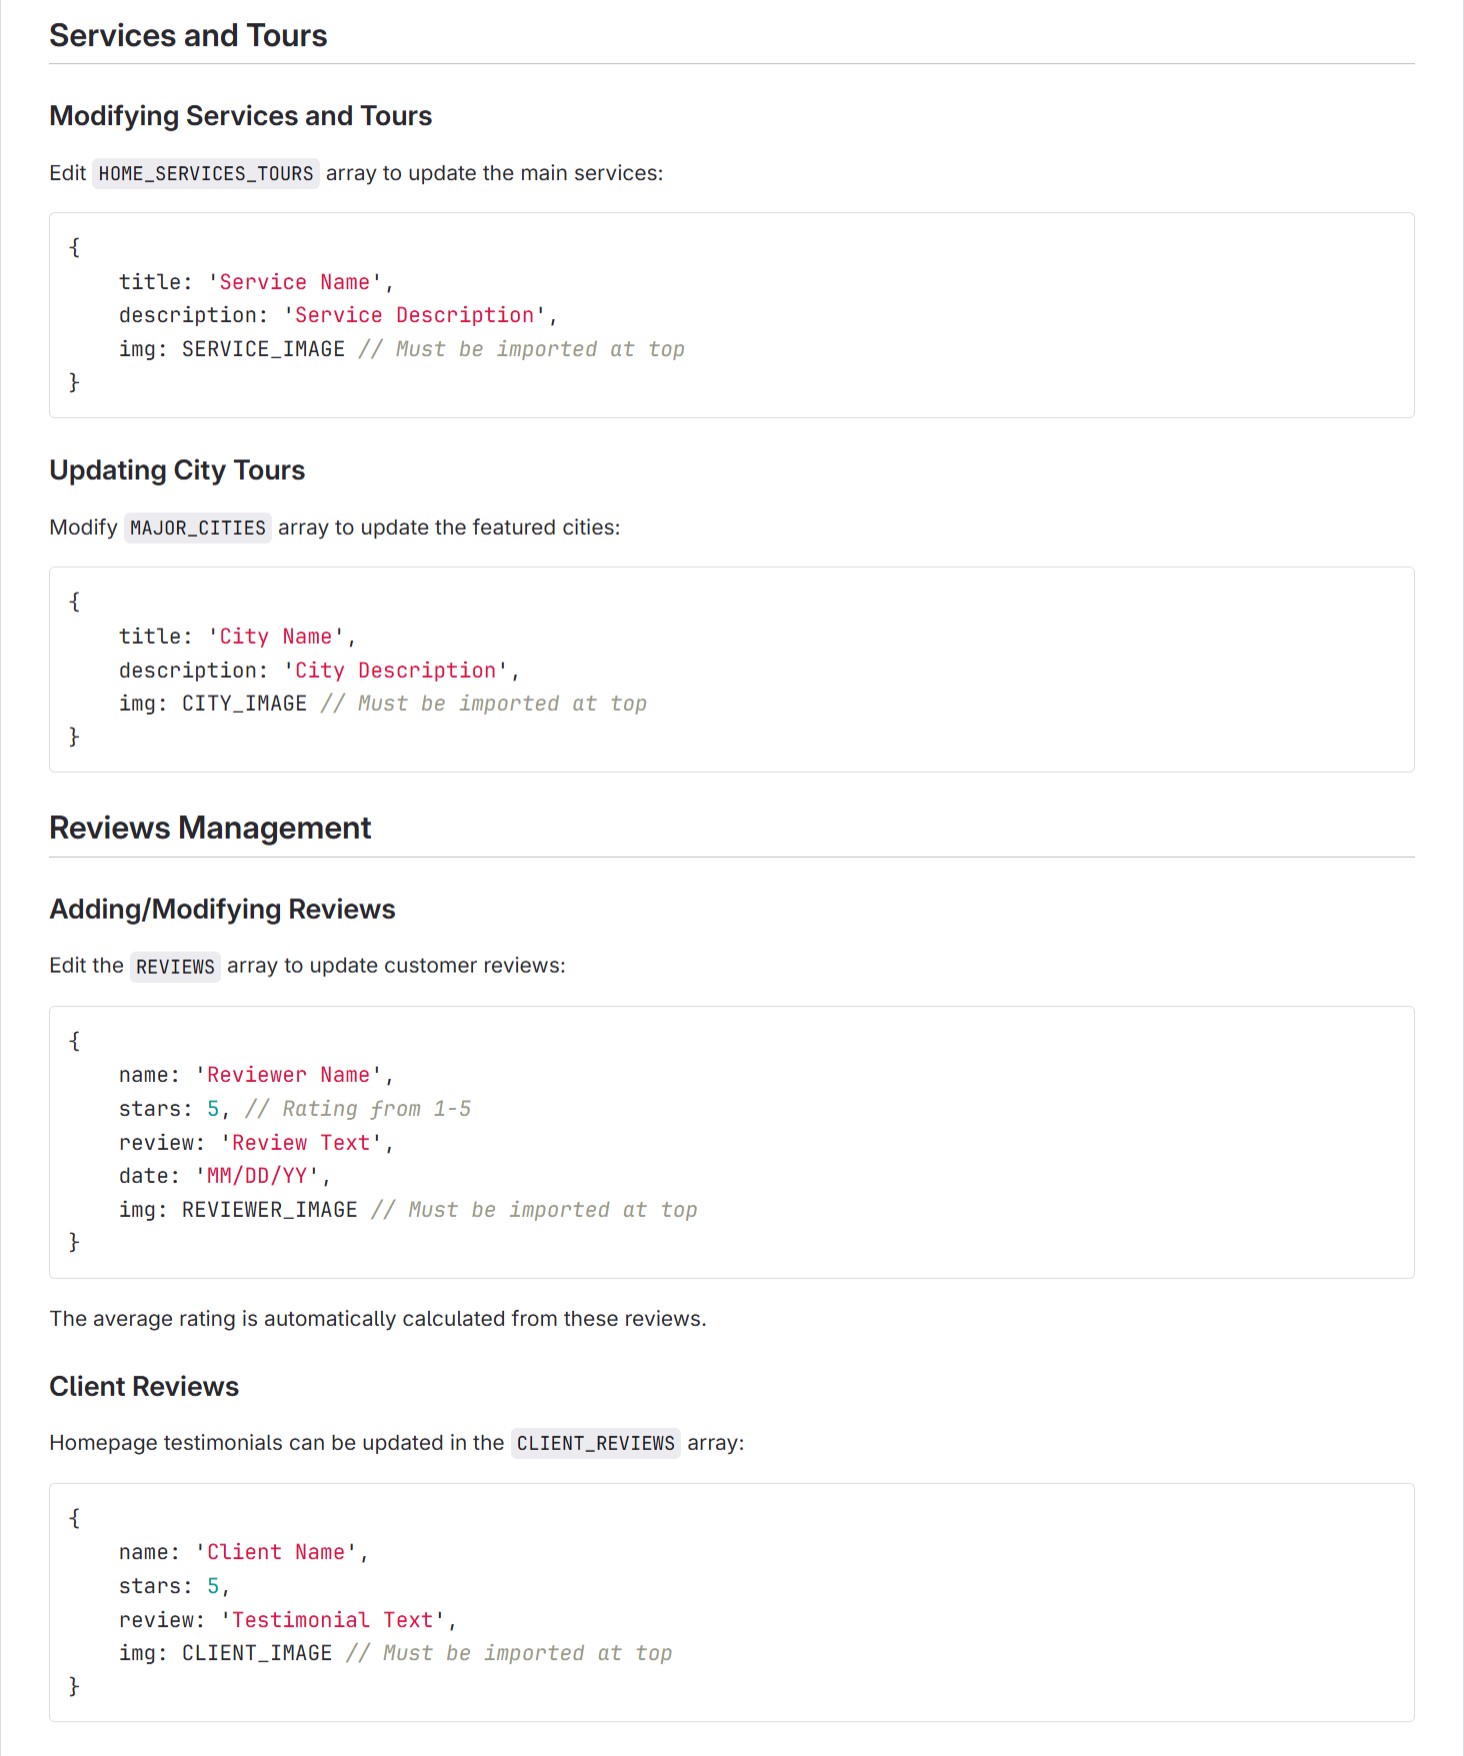
I also created a separate ReadMe file specifically for editing the website’s content, explaining
how to update text, images, and other elements by modifying the constants file or JSON-like
objects. These ReadMe files ensure that both developers and non-technical users can easily
work with and update the project.
Link: Content Editing ReadMe
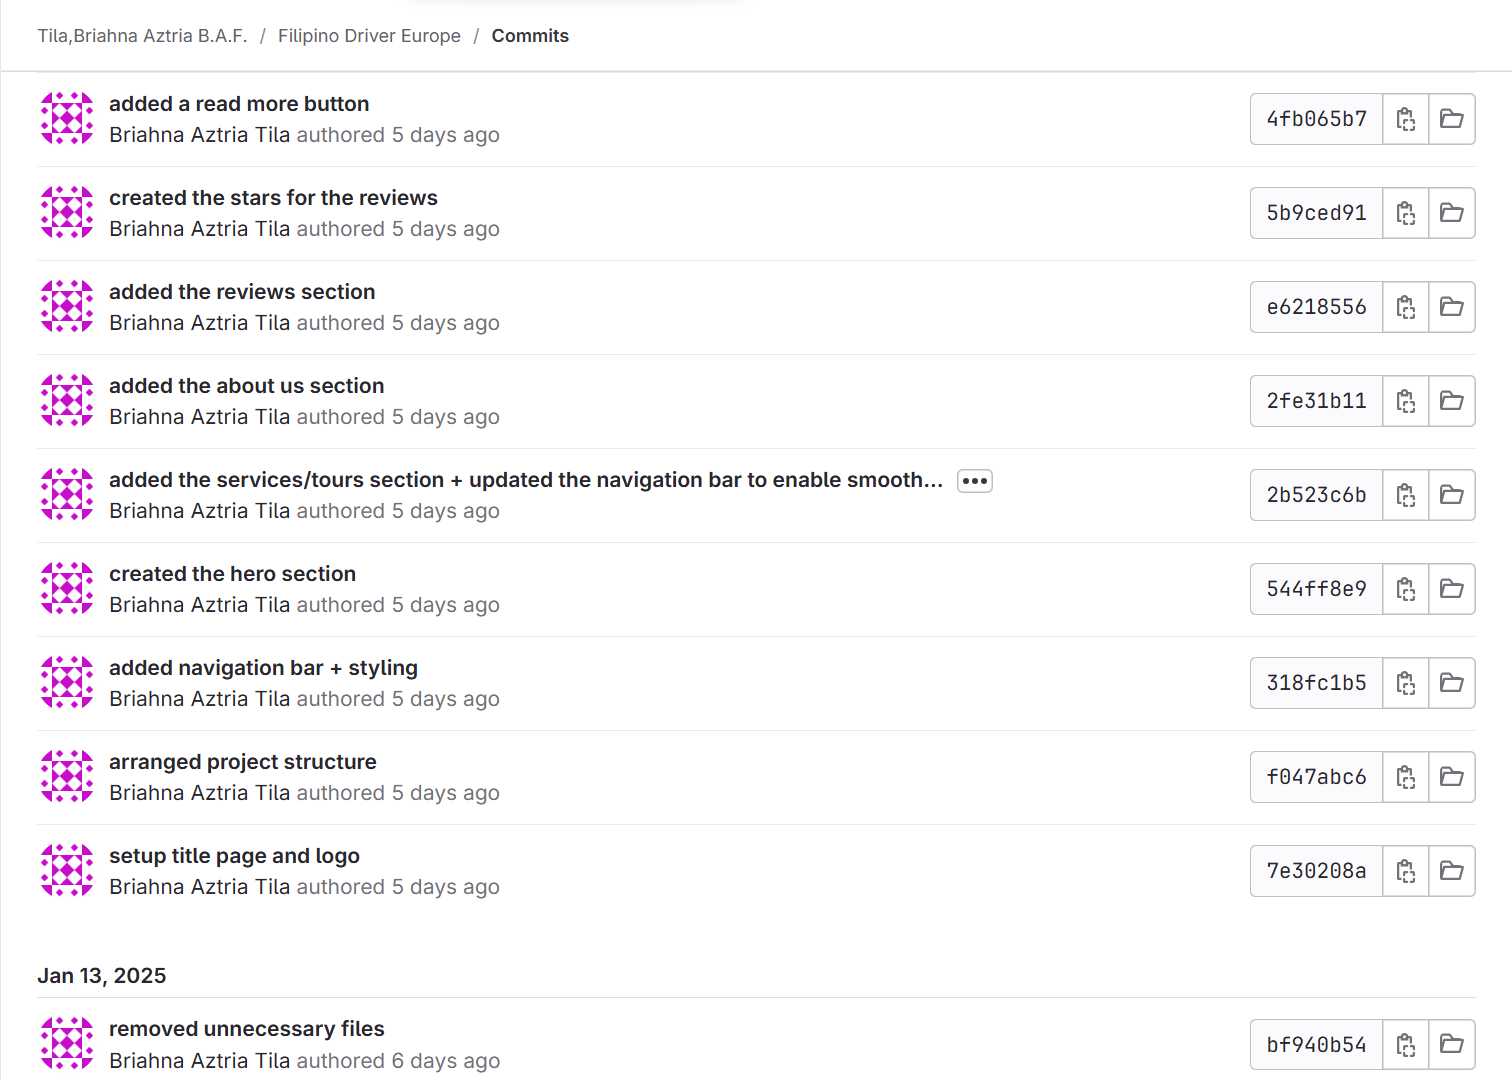
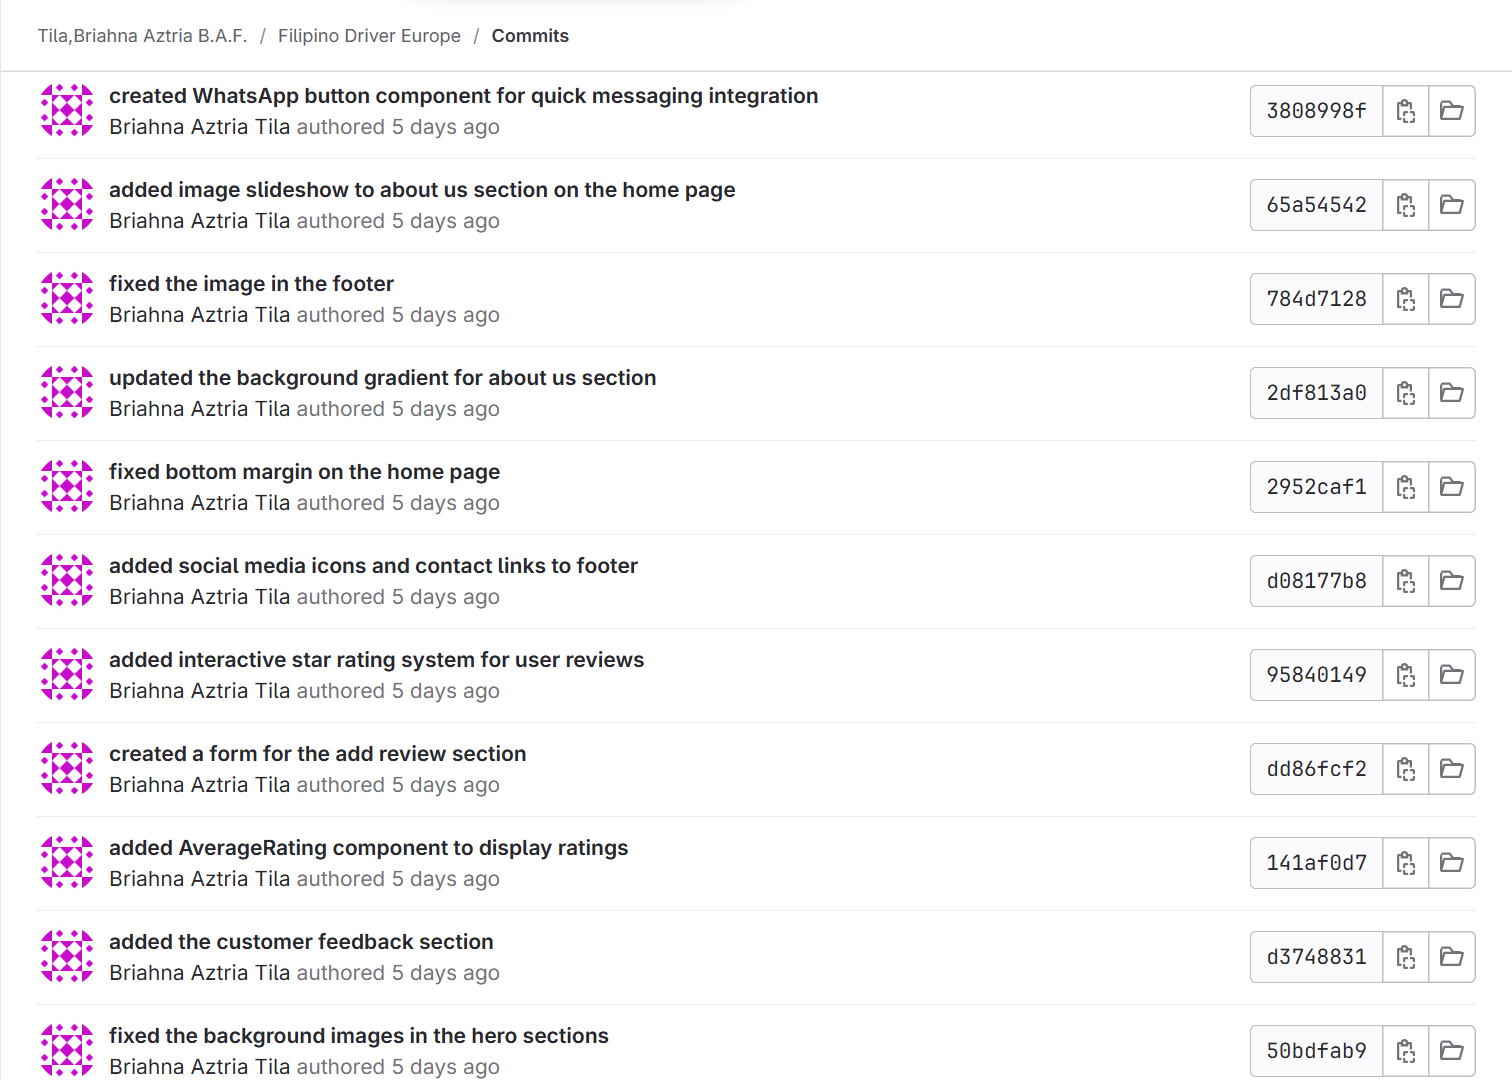
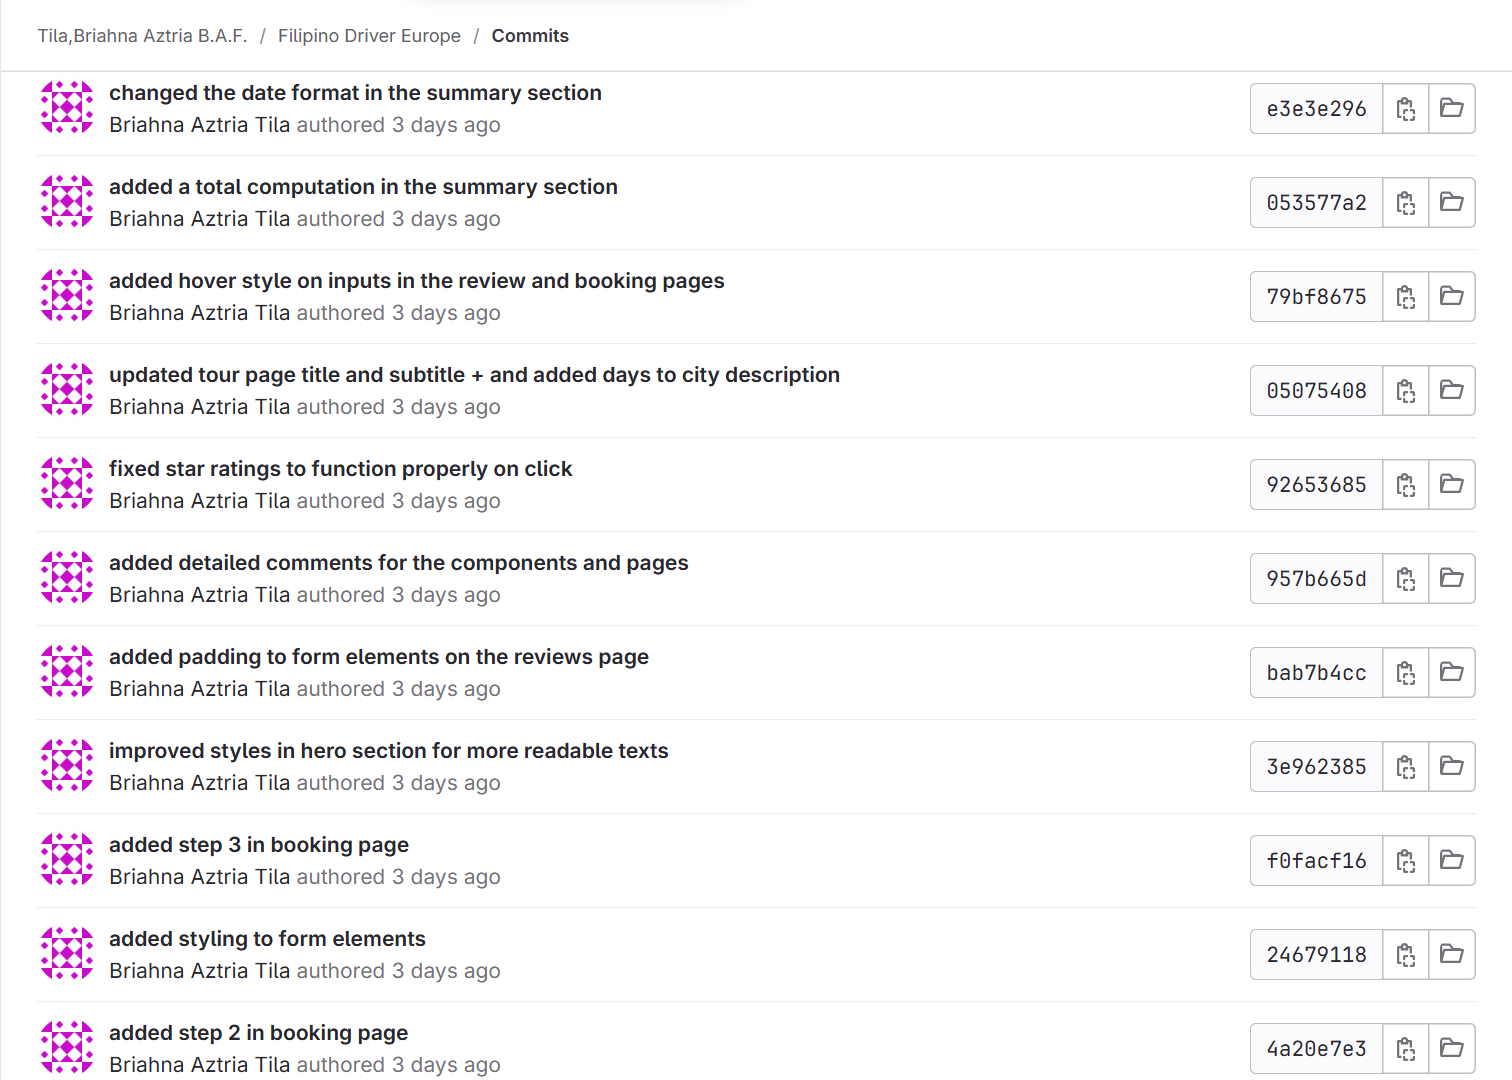
Commit Messages
I made sure to commit and push changes regularly to my GitLab repository while maintaining
clear and concise commit messages.
Reflection
This project went really well, and I genuinely enjoyed working on it. I’m happy that I got to
explore and try out different frameworks like ReactJS and Bootstrap, which gave me a deeper
understanding of web development. It was exciting to learn how these tools work together, and it
has motivated me to explore other frameworks in the future.
Throughout the semester, I practiced version control, wrote documentation, and added
meaningful comments to my code. These practices made the project more manageable and
organized. Using JSDoc was particularly helpful in ensuring that my code remained clear and
easy to understand. The feedback I received on my ReadMe files and comments was helpful in
improving these skills.
Future Implementations
Due to time constraints, I have compiled a list of implementations I would like to incorporate into
the website in the future. While these features cannot be implemented at this time, I believe they
would greatly enhance the project and add valuable functionalities. If I had more time, I would
have included these improvements to further expand and refine the user experience.
- Each service will have their different page so that the user can see the details for each service.
- There will be a separate payment page or feature that the users can access after they book the service.
- If there are more pictures provided, there can be a gallery page for its compilation.
- If the stakeholder wants to include more about the history of their business as well as their team, we can provide a separate ‘About Us’ page.
- A live WhatsApp chatbox will be integrated into the website, allowing users to directly message the business for inquiries, booking assistance, or customer support.